This post is for you if…
- You’re considering slate tile floors for your home
- You’re in the middle of a slate installation gone wrong and looking for answers or community
- You want to know what a stone restoration specialist actually does (and whether it’s worth the call)
- You want a not-so-perfect-but-honest follow-up to a renovation mistake that couldn’t be fully fixed
Some links may be affiliate links, meaning I may earn a small commission if you choose to purchase — at no additional cost to you. I only share products I genuinely like, would use in my own home, or have researched and feel confident recommending.
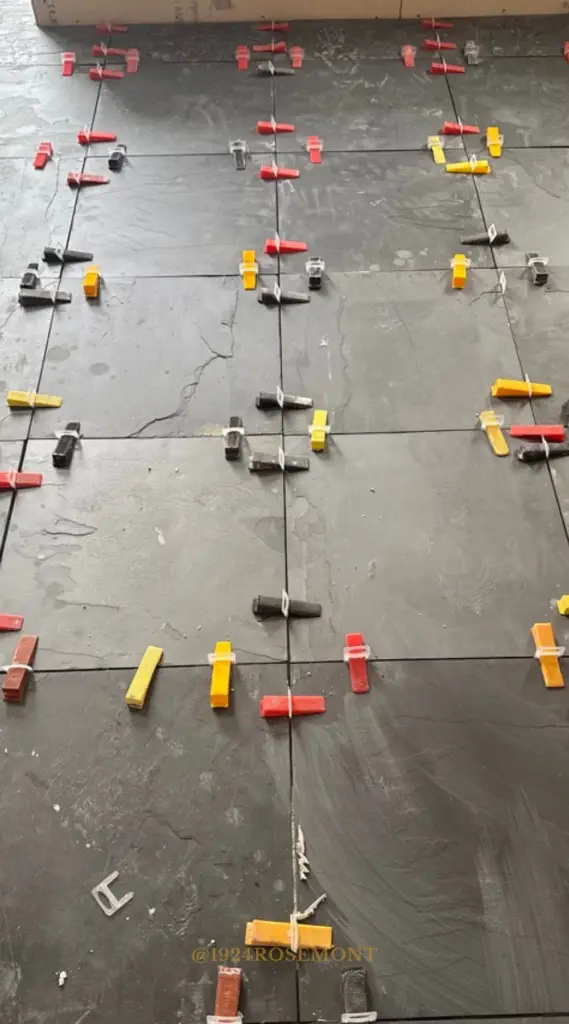
If you read Part 1 of this story, you know where I left off. A brand new black slate tile floor that looked terrible, a broken heart, and an exhausted project budget.
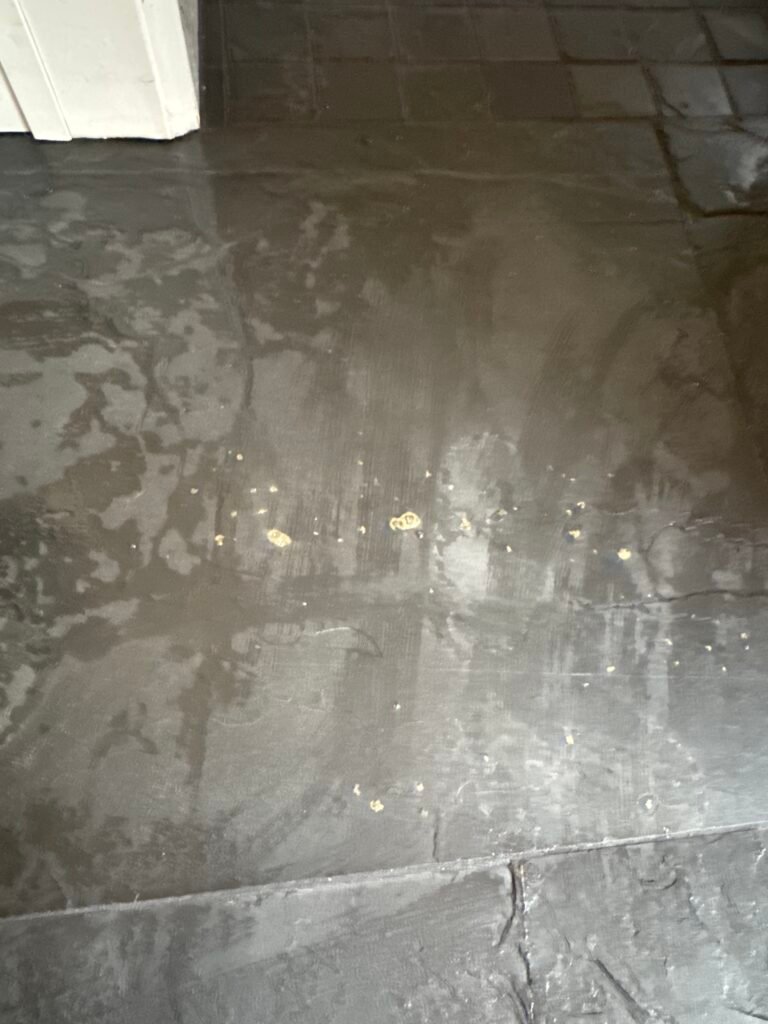
My installers had rushed the finish, worked past dark on a Friday, and left me with a master bathroom floor full of cloudy, hazy tiles that looked nothing like the stunning Adoni Black slate from The Tile Shop I’d fallen in love with.
I held final payment until I could see the work in broad daylight. It was the single smartest decision I made on this entire job.
I tried cleaning the haziness off with gentle stone cleaners on my own. Nothing moved. I considered listing my house and moving. Kind of joking.
Kind of not.
And then? I called a professional. With years and years of glowing reviews on many platforms.
This post is what happened next.
What Is a Stone Specialist & When Do You Need One?
A stone restoration specialist works exclusively with making natural stone look incredible. Not tile generally. Not grout. Stone.
Marble, granite, travertine, slate, etc. These are the pros who see all the different ways natural stone gets damaged, dulled, scratched, or incorrectly sealed after it’s in our houses (or offices).
These are people with a different understanding of stone than a tile contractor, a general flooring installer, or even a contractor with stone installation experience. Stone restoration requires having specialized knowledge of wear and repair. They’re the people who have the tools, products, and techniques that fix problems.
Without doing additional damage to your floor, walls, or psyche in the process.
When do you need to call these pros? When you find yourself looking at stone that doesn’t look the way it should. Whether it’s just after install (my unfortunate reality), or 15 years later, and you’re starting to worry you can’t make your floors pretty anymore.
A stone restoration specialist diagnoses the real problem. Whether you’re dealing with grout haze, sealer issues, surface damage, or something else entirely, they’ll tell you whether it’s fixable and how.
In my case, getting a professional diagnosis about my newly installed slate floor changed everything.
What the Stone Restoration Specialist Actually Found
Enter Norbert Singling, regional sales manager for Marblelife North Carolina.
Norbert spent an hour on the slate floor with me. Testing potential solutions. Looking carefully. Listening to what had happened during the install.
He compared my installed black slate tile floor to the unused (still beautiful) stack still sitting in my bedroom and confirmed immediately what I’d been told wasn’t true: no, this isn’t “just how slate is supposed to look.”
Something had gone wrong during installation. I thought it was “just” grout haze.
After a number of repair solution trials, Norbert confirmed it (mostly) wasn’t.
Turns out it was sealer, applied in a hurry. Slate tile sealer is supposed to go on wet, absorb slightly into the stone, and then be buffed completely dry before it dries.
What my installers had probably done was let it dry unevenly across the surface.
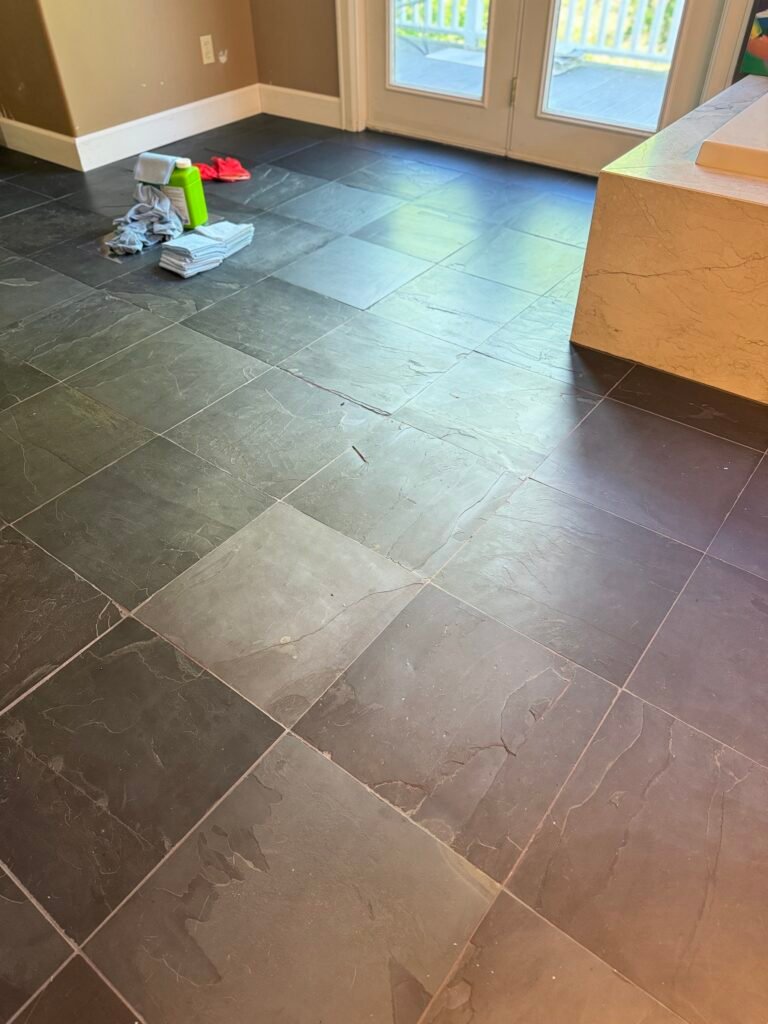
Every place they didn’t fully buff out the sealer left a white, cloudy film sitting on top of the tile. On top of that, some of the grout haze had been left when the wet “final” mopping was left to dry on the tiles.
Multiply that across an entire (brand new) master bathroom floor and you get what I was living with.
Water didn’t help. Stone cleaner didn’t either. And grout haze did almost nothing.
Norbert’s Genius Slate Tile Fix & What It Actually Achieves
After trying several potential solves, Norbert landed on something. A spot where he’d reapplied fresh sealer and wiped it off looked slightly better than the rest of the surface.
So he ran an experiment on one of the worst tiles in the room.
He applied a thin coat of sealer, let it tack up slightly … not dry, just beginning to set … and then buffed it completely, entirely dry. Then did it again. And again. And a fourth time.
By pass four, the worst tile in the room had become the prettiest tile in the room.
He tried it on another tile. Same result. Then he said something I wasn’t expecting: you can do this yourself.
No upsell. No service call to schedule.
He walked me through the process, confirmed it was repeatable without professional equipment, and told me straight: This is time and elbow grease, not expertise. You’ve got this.
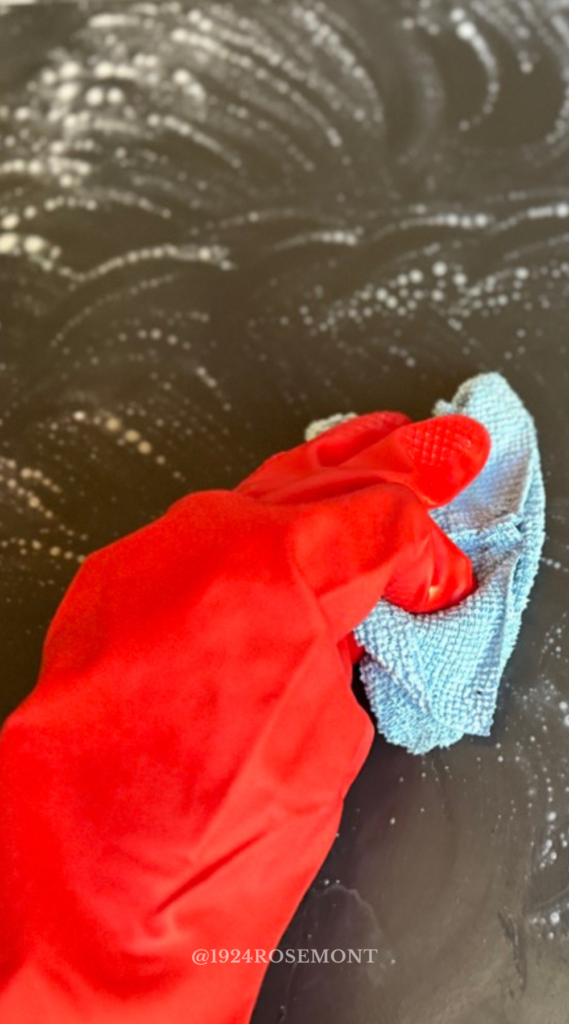
The DIY Slate Tile Floor Restoration Process
So here’s Norbert’s prescription…and what I’m doing myself to make my slate less much less heartbreaking:
- Apply a thin coat of sealer to one tile at a time – which can reactivate the existing sealer
- Let it tack up slightly just starting to set, not wet, not fully dry
- Buff completely dry with a clean cloth to remove the cloudiness
- Repeat on heavily affected tiles
- Work in sections so the sealer doesn’t dry cloudy (again)
It’s not fast. It’s methodical.
I did one six-tile quadrant the night after Norbert’s visit. Two passes. It’s better. Genuinely livable. I’ll do the full floor this weekend.
But honestly: these floors will never be what they should have been.
The Adoni Black slate I chose for this bathroom is a stunning material. I still believe that completely.
What I won’t ever fully have is the floor I would have had with an installer who knew natural stone. Who understood how slate tile behaves differently from porcelain, who would have pre-sealed correctly, who would have taken more care in their installation.
One tile at a time.
Old House Rules | Old House Renovation is Hard Than “Regular” Renovation
Every single project will have Old House surprises. A subfloor that surprises you. The materials no one works with anymore.
The margin for error is smaller and the cost of getting it wrong is higher.
The only way to get through these project with both your budget and enthusiasm intact is to find the pros who love what they do enough to stay curious and invested when the job gets hard.
Norbert is that person for stone.
My electrician Lane is that person for old house wiring.
They don’t just know their trade, they care about my house’s specific “problems”.
They try things.
They stay in the room until something works.
They tell you the truth even when it isn’t what you hoped to hear.
In an old house, that distinction is everything.
My installers were excellent…at porcelain. They were not the right fit for slate. And I didn’t know enough to tell the difference before the job started. Now I do.
Everything you need to know before choosing your slate installer — every question to ask, every red flag to watch for — lives in Part 1.
Read it before the first tile goes down.
My floor is getting there. The room is getting there. My heart is healing. The reveal is coming.
And I’m still glad I chose slate.
This is Part 5 of the 1924 Rosemont Bathroom Series.
It *will* have a happy ending.
How to Renovate Your Bathroom Without Eroding Its Soul → Slate vs. Porcelain in an Older Home → Heated Bathroom Floors: Splurging Makes Sense → What You Need to Know Before Installing Slate Floors → You are here → The Reveal (coming soon)