This Post Is For You If…
- You have cabinet hardware that might work with a glow up
- You’re dealing with old holes, mismatched finishes, or hardware that’s been painted over
- You want to update the look without spending hundreds on all new pulls and knobs
Don’t need the details but want the exact sources? → shop this project
Some links may be affiliate links, meaning I may earn a small commission if you choose to purchase — at no additional cost to you. I only share products I genuinely like, would use in my own home, or have researched and feel confident recommending.
The Cabinet Hardware You Have Is Probably Fine
Old house hardware has layers. Sometimes that means literal layers of paint, mostly, applied with the enthusiasm of someone who decided everything would look better in a coat of paint. Underneath those layers is often original hardware that’s perfectly fine, perfectly sized, and perfectly period-appropriate. At a quality you’ll pay a ton for today.
The reflex when hardware feels off is to replace it. That’s sometimes the right call. But before you spend $20–$100+ per pull across forty drawers and doors, there are ten moves to consider first. Some of these are twenty-minute fixes.
One of them involves a slow cooker. All of them are very much in the “costs less, looks amazing” camp.
10 Ways to Refresh Your Existing Cabinet Hardware
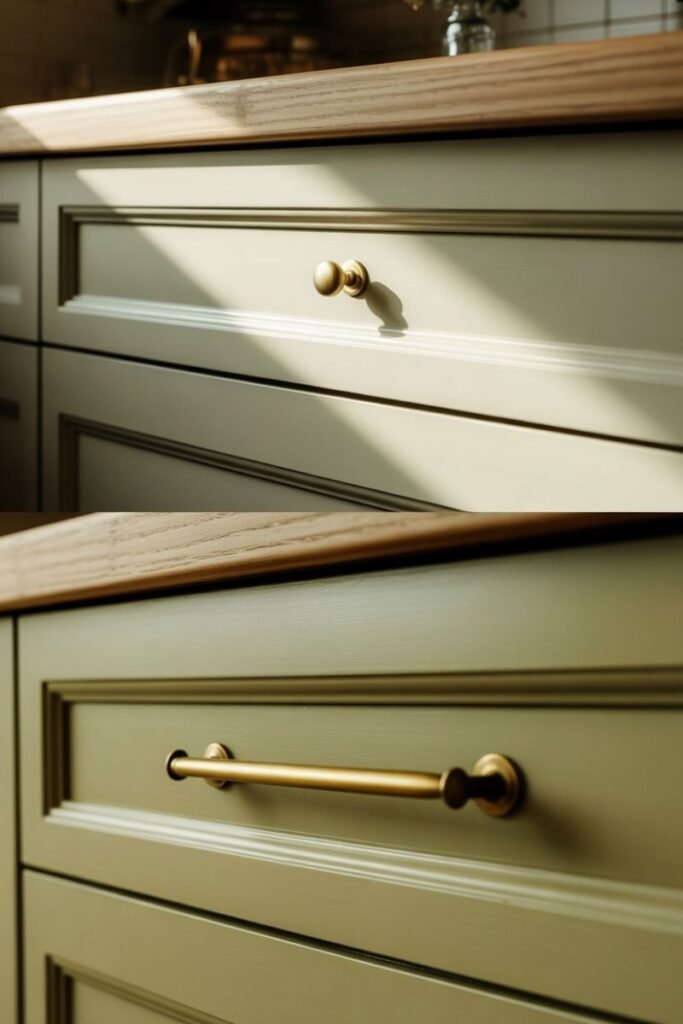
1. Add Backplates to Existing Pulls
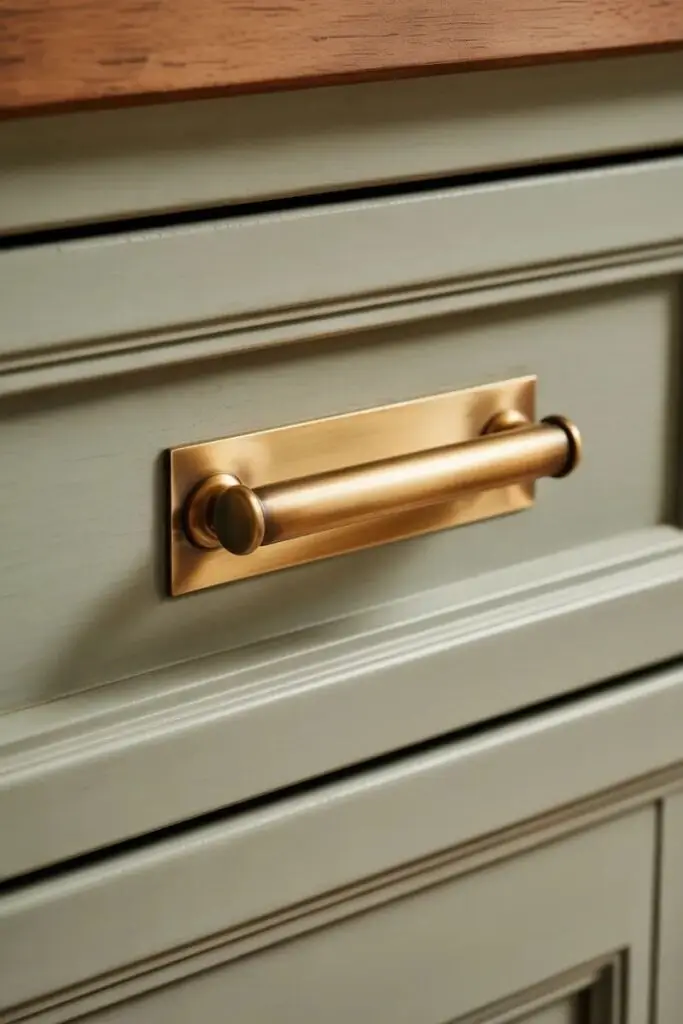
This is the single highest-impact move that costs nothing except the backplates themselves.
A backplate changes the visual weight of your hardware, covers old holes from previous pulls, and turns a pull that was “fine” into a pull that looks deliberate.
Matching or deliberately contrasting finishes can work well for visual interest.
Ordering a sample helps you confirm the finishes work just the way you want them to.
Related: Cabinet Hardware Backplates: When to Use Them and Which to Buy
2. Redistribute the Cabinet Hardware You Already Have
Before you buy anything, look at what’s scaled wrong around the house
Knobs on big drawers feel flimsy and they make opening the drawer more of a chore. Pulls on small cabinet doors can feel heavy or fussy. If your hardware budget feels like a stretch, spend a little time considering how you might move what you have around first.
Would swap the knobs from the wide drawers to small cabinet doors work better in the room? What about rehoming some existing pulls where the knobs once were. You might solve the problem without spending a dollar.
This works especially well in kitchens where hardware was installed once by another owner who never really thought through what would work best. Original decisions aren’t necessarily right decisions.
And you have every right to shift things around to work better for you and the room.
Related: Old House Cabinet Hardware Placement: Where Drawer Pulls + Knobs Go
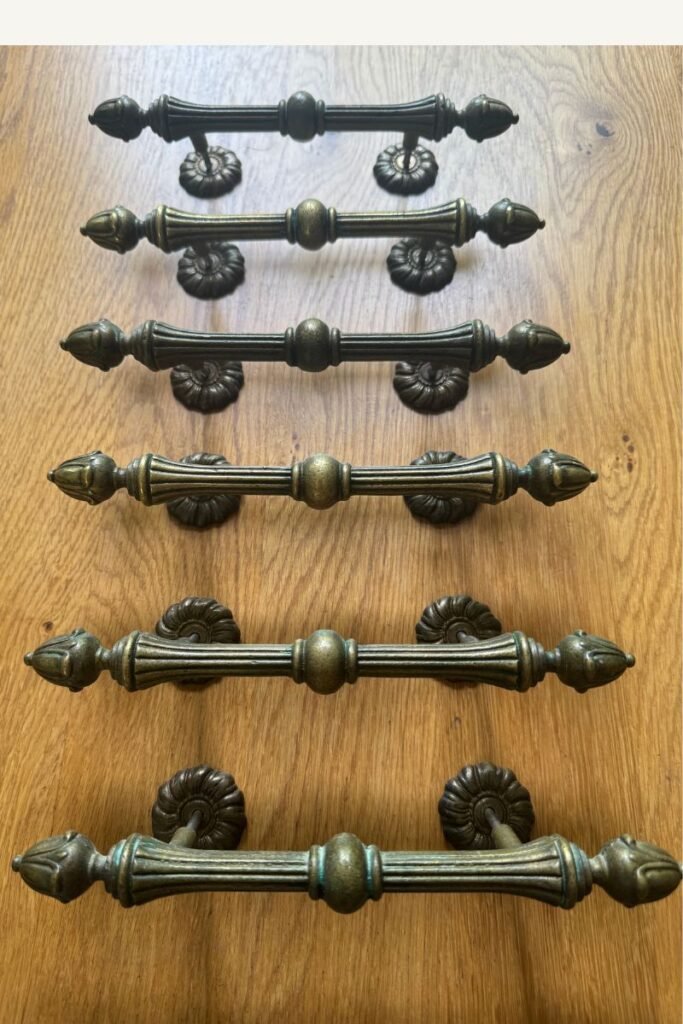
3. Clean and Restore What’s Already There
I’m deep cleaning and keeping them for a future project.
Unlacquered brass can be hiding gorgeousness under a century of grime, fingerprints, and casual neglect.
Before deciding your hardware is wrong, give it a deep clean.
Bar Keepers Friend on a damp cloth, let sit two minutes, scrub with an old toothbrush. Bar Keepers Friend is safe for unlacquered brass. It removes oxidation without stripping the metal or interfering with natural patina development. Two minutes max, then rinse thoroughly. If you want to preserve some of the aged patina (and if you’re here…. you probably do), go lighter and check as you go.
Use Brasso for serious oxidation.
Rinse, dry, and see what you actually have. Many times, what’s “wrong” with the existing old house hardware is that no one’s cleaned it properly in years.
Hardware that looks like it needs replacing often emerges absolutely stunning after the just a tiny bit of attention.
The pulls I removed from the vintage dresser that is the master bathroom vanity are ornate, vintage but likely from the 50s or 60s (not the 20s), but super heavy and well-made.
I’m holding on to them after a deep clean so I can put them to great use in a future project.
4. Refinish the Finish
Rub ‘n Buff is a DIY-friendly wax-based metallic finish that applies by hand and buffs to a surprisingly convincing result. It works best on decorative or low-traffic hardware — hinges, escutcheons, decorative knobs on furniture pieces. For pulls that take daily abuse, spray paint is generally the better call: Rustoleum 2X in satin or matte finishes doesn’t require priming and has worked really well for me. I also use spray paint on clean surfaces before Rub ‘n Buff to give great depth.
Neither solution is a forever solution. Both buy you time and change the finish without spending on new hardware.
I’ve used Rub ‘n Buff on many (many) projects over the years, including in the guest cottage to match aged bronze pulls. It works — just don’t use it where hands are going every day.
5. Swap Just the Hinges
If your pulls are the right look but the cabinet’s visible hinges are fighting them — shiny unlacquered brass pulls fighting with satin nickel hinges, for example — your eye will catch that design argument. Hinges are relatively inexpensive when compared with pulls and knobs. Swapping the hinges out can make hardware that seemed wrong suddenly read as intentional.
This is especially true in old houses where exposed hinges are part of the design. Get the hinges right and the rest of the hardware can shine.
6. Replace Only the Most Visible Pieces
You don’t have to change out every knob or pull. In a kitchen, the uppers are eye-level. Islands are a centerpiece. If you’re not ready to commit to a full-blown replacement of the room’s hardware, start there.
Replace just the pulls on the uppers and visible hardware on the island in a complimentary look, leaving the lowers in place for now.
The effect reads as intentional mixed hardware, not a half-finished project, as long as what you’re leaving is neutral. You can also clean and rework the finish on the lowers to help keep the old and new cohesive.
This approach has the added WIN of letting you test a finish or style before committing to whole-room expense.
7. Reposition Existing Hardware
Sometimes it’s placement, not the pull or knob itself. A pull positioned too low on a painted drawer face can make the drawer look squat. Move it up to the rail or in the upper third of the drawer and you get a more modern look. Same hardware, different vibe. This is a low-ish lift fix with a drilling template and the right bit. Fill the old holes: toothpick plus wood glue, let dry, sand flush, touch-up paint. Then drill the new placement.
On tall cabinet doors, center-mounting pulls at 36″–40″ from the floor — rather than at the middle of the door — makes the door easier to use and looks more deliberate.
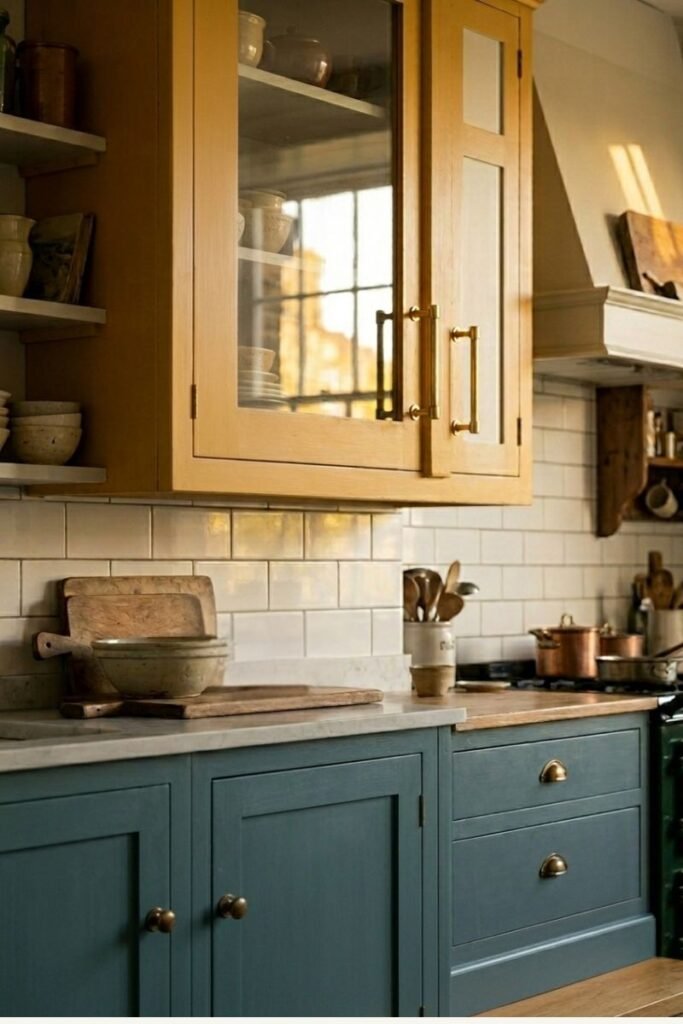
8. Mix Metals Deliberately
The overwhelming design standard is to match metals and finishes. Old houses don’t always follow that rule. And neither should you, if you do it with intention.
What can work beautifully is to choose a dominant metal finish and a supporting metal in a supporting role. Matte bronze pulls with brass hinges reads as designed. Unlacquered brass pulls with iron bin pulls as accents reads as collected over time.
What doesn’t work: three finishes with equal visual weight that are all slightly different. Pick a leading actor. Support it with one (or two) other cast members. You’ve got a dramatic, honest design.
9. Update the Cabinet Millwork
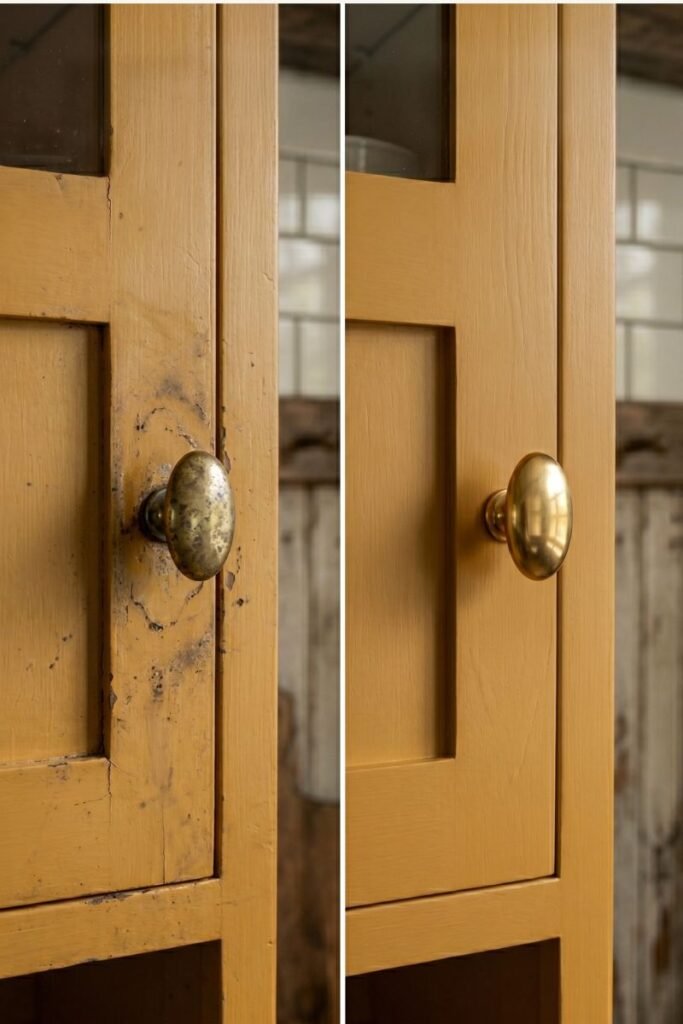
Refreshed hardware on a damaged cabinet door face looks sad. A chip in the finish at the hinge, a crack at the edge, staining from an old pull. These are the scene stealers of an otherwise really great design. And the pull the focus from any hardware, new or old.
This is a heavier lift but absolutely worth it activity you can take on over a few nights or weekends.
- Remove all grease and grime with Dawn dish soap, Goo Gone, or Krud Cutter and wipe clean with a damp, clean rag, and a toothbrush.
- Fill chips with Elmer’s wood filler or spackling, and sand smooth when completely dry.
- Refresh with feathered in touch-up paint or stain with a small artist’s brush or stain pen.
Take it door by door if you need to.
Your newly rejuvenated hardware reads refreshed because the surface it’s on is, too. Don’t skip this step. It’s what makes the hardware look intentional and the room calm and put-together.
10. Strip Paint-Encrusted Original Cabinet Hardware
This is a close-to-effortless move that changes things. Old house hardware tends to get painted over. Sometimes many times. What looks like a tired black pull that could never work with the room you see in your head is actually just years of paint hiding beautiful original hardware underneath.
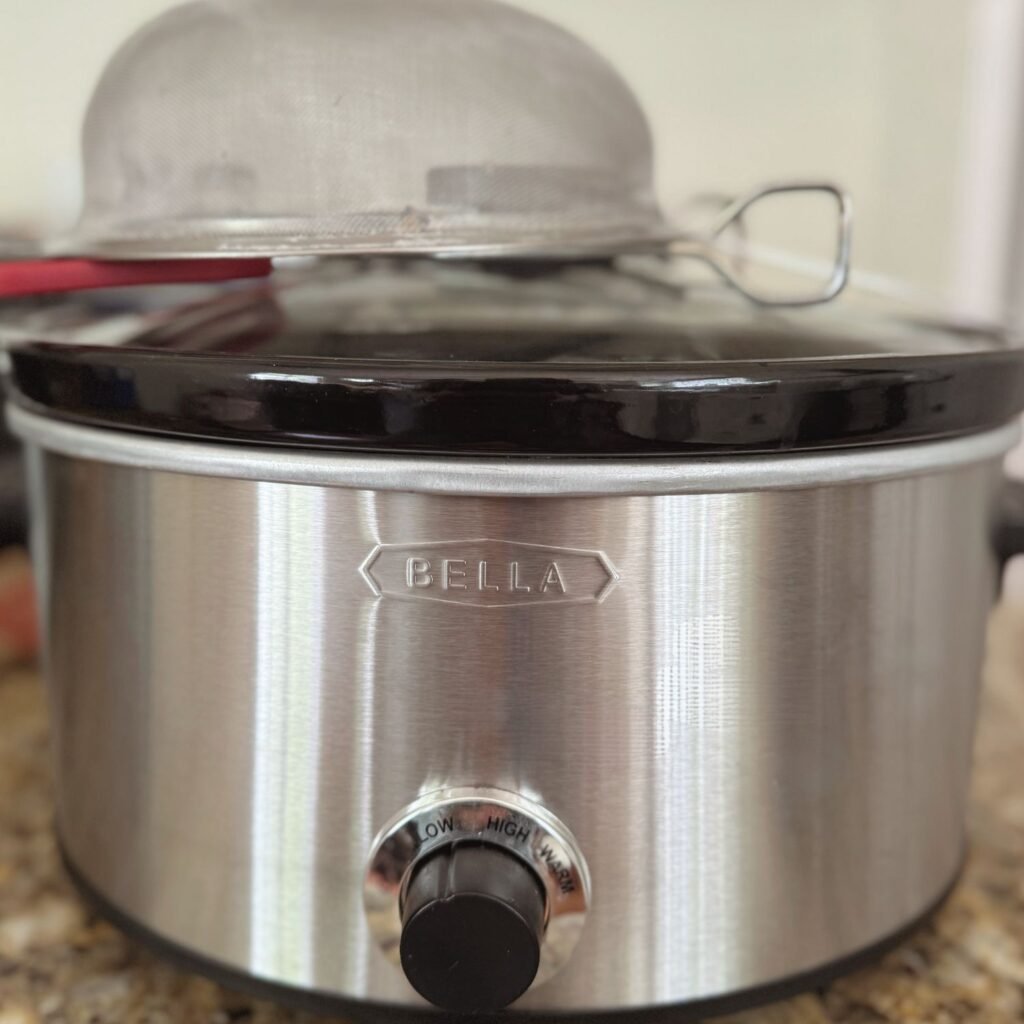
- Fill a dedicated slow cooker — you’ll never use it for food again — with water and a generous squeeze of Dawn dish soap.
- Add your hardware. Set to low. Leave it four to eight hours (I’ve had to soak some really crusty pieces over days in the past).
- The paint softens and lifts off in layers. Use an old toothbrush to remove what remains.
What’s underneath is the original finish, intact, with the history and patina of a hundred years.
If your house was built before 1978, assume the paint on your hardware may contain lead. Wear gloves when handling it before and after soaking.
Dispose of the soaking water carefully. Don’t pour it down a drain used for drinking water, and check your local guidelines for lead paint disposal.Ventilate the space. Lead doesn’t make the method unsafe, but it means you need to take safety seriously.
I’ve restored keyhole escutcheons, bin pulls, shutter dogs, and hinges at Rosemont so covered with paint it was impossible to know whether they were trash or treasure. This slow cooker is dedicated to this purpose only and lives in the basement. If you own an old house, you will save so much original hardware with one of these of your own.
The same technique works beautifully on original door hardware — mortise locks, escutcheons, and knobs in copper, brass, and bronze that someone painted over decades ago. Full guide coming soon.
Old House Rules: What NOT to do When Refreshing Cabinet Hardware
- Don’t default to replacement. Replacement should be a last move, not the first.
- Don’t use Rub ‘n Buff on high-traffic pulls. It wears off fast. Reserve it for decorative hardware and low-use pieces.
- Don’t skip the millwork repair. New hardware on a damaged door face won’t fix the real problem.
- Don’t mix three metal finishes equally. Two metals, one as the “leading lady”.
- Don’t assume painted hardware is ruined. The slow cooker and time can work miracles on even the grossest, sad-looking hardware.
Shop the Cabinet Hardware Refresh
Some links may be affiliate links, meaning I may earn a small commission if you choose to purchase — at no additional cost to you. I only share products I genuinely like, would use in my own home, or have researched and feel confident recommending.
For Cleaning and Restoring
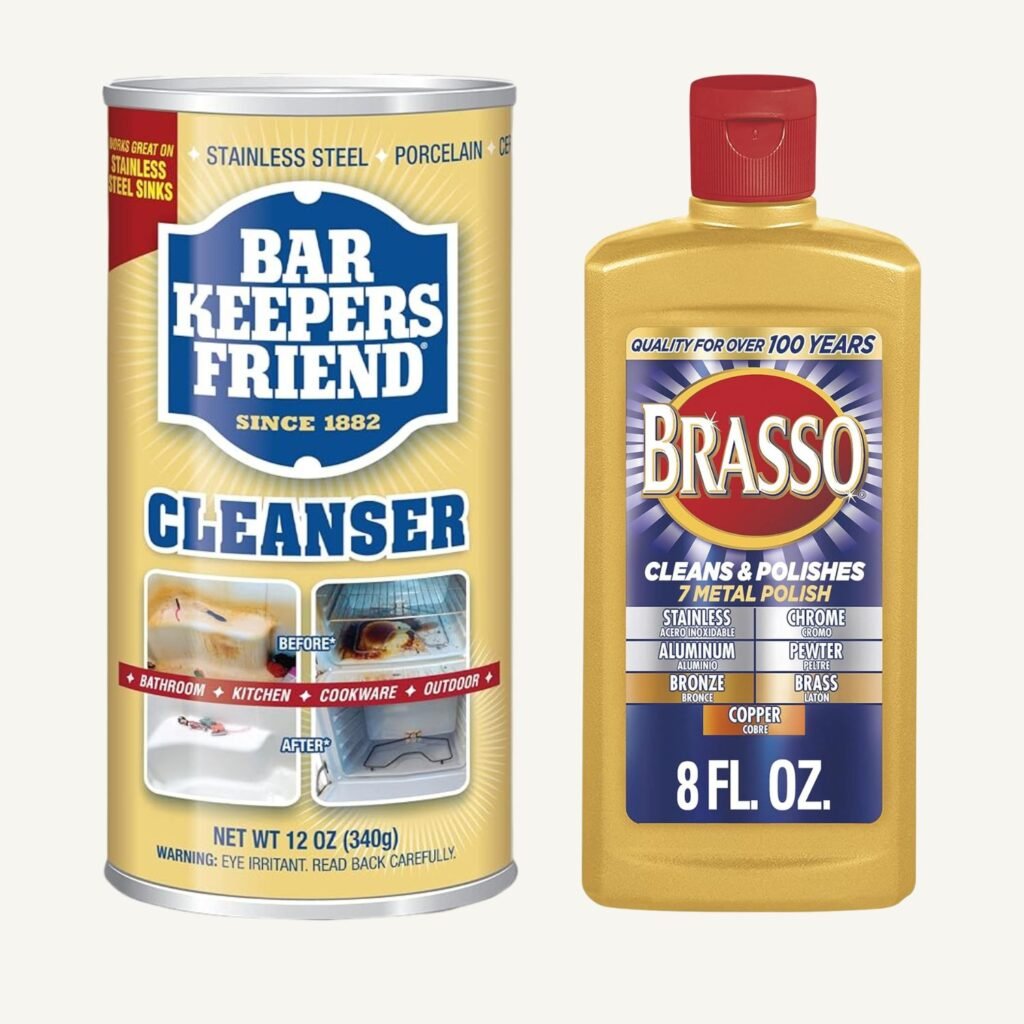
Bar Keepers Friend Powder Cleanser
~$5, Amazon — The go-to for brass and metal restoration.
Apply damp, let sit, scrub, rinse. The oxalic acid cuts through grime and stain.
Brasso Metal Polish
~$8, Amazon | For serious oxidation on brass, copper, bronze, pewter, aluminum, copper, chrome, and stainless steel.
Work in small circles, buff off clean. It’s for serious oxidization removal.
For Refinishing
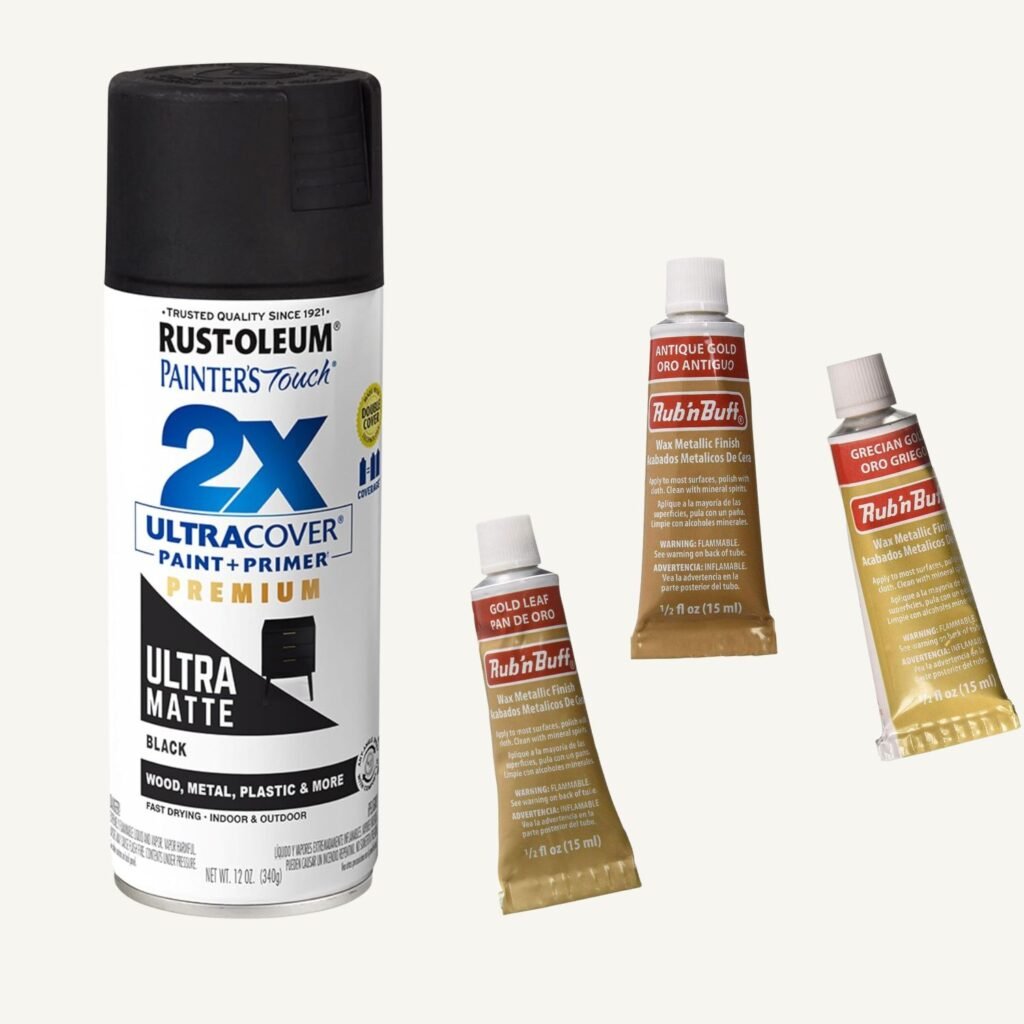
Rustoleum 2X Ultra Cover Spray Paint + Primer
~$6, Amazon | Ultra Matte Black and Satin Espresso make great hardware options.
Rub ‘n Buff Wax Metallic Finish
~$8 – $20, Amazon | Antique Gold and Grecian Gold are my go-to’s for old house hardware.
Apply sparingly, and buff it out to burnish.
For the Slow Cooker Paint Removal Method
Dedicated Slow Cooker
~$15–$40, Amazon | Buy something low-priced – or retire an unused one – for hardware restoration purposes only.
You’ll never use this one for food again. It will be permanently Dawn-scented, and gain a fast patina of it’s own.
Thrift stores are an amazing place to source one just for this purpose. Mine is a corporate “thank you” gift many, many years ago and always used for this purpose from day 1.
Dawn Original Dish Soap
~$4, buy it everywhere | The original formula. Not Ultra, not Platinum.
The original degreasing formula works some magic when paint and degreasing.
Frequently Asked Questions
Can I really spray paint cabinet hardware?
Yes, with proper prep. Remove the hardware, clean it thoroughly, prime with a metal primer if your spray paint doesn’t have it, and apply two light coats of topcoat if it’s going to get heavy use. Matte and satin hold better than gloss. Expect 3–5 years on pulls that get daily use. Spray paint isn’t permanent, but it’s a legitimate option for hardware with good bones but the wrong finish.
What is Rub ‘n Buff and does it actually work?
Rub ‘n Buff is a DIY-friendly wax-based metallic finish from AMACO. Apply a small amount by hand, work it in, buff to your desired sheen. It works well on decorative hardware, hinges, and pieces that don’t get heavy daily contact. On pulls you open twenty times a day, it’s not the best solution. Use Rub ‘n Buff on escutcheons, decorative knobs, and hinges — not bar pulls.
How do I know if my existing holes work with new cabinet hardware?
Knob holes are single-point. Any knob fits just about any hole. Pull holes are the variable: measure center-to-center between existing holes and match that when ordering if they’re sized right for the drawer or door. Common sizes: 3″, 3.75″, 5″, 6.25″, 8″. If switching from a knob hole to a pull, you’ll be drilling a second hole. Choose a pull length so the new holes land in clean wood.
Does the slow cooker method damage the hardware?
No. The low heat and Dawn work on the paint, not the metal. Brass, iron, nickel, and most period hardware comes through fine. Don’t use it on hardware with decorative painted elements you want to preserve — the paint is the point of the exercise. The hardware comes out clean, often with the original patina completely intact.
Knobs or pulls for old house cabinets — which is more period-correct?
Knobs are period-correct on most pre-1950 kitchens and bathrooms. Bin pulls and cup pulls were the other dominant original hardware style. Bar pulls read more modern. The decision is about proportion and period fit, not a hard rule.