This post is for you if…
- You’re considering replacing a bathroom vanity that “came with the house”
- You want a bathroom vanity redo on a budget that still feels intentional
- You need a durable paint for bathroom furniture that actually holds up
- You’re trying to make modern updates work in an older home
Hate the story but want the exact sources?
→ shop the entire project
Some links may be affiliate links, meaning I may earn a small commission if you choose to purchase — at no additional cost to you. I only share products I genuinely like, would use in my own home, or have researched and feel confident recommending.
Bathroom Vanity Redo on a Budget: Why Keeping What I Have Works
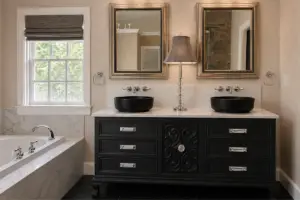
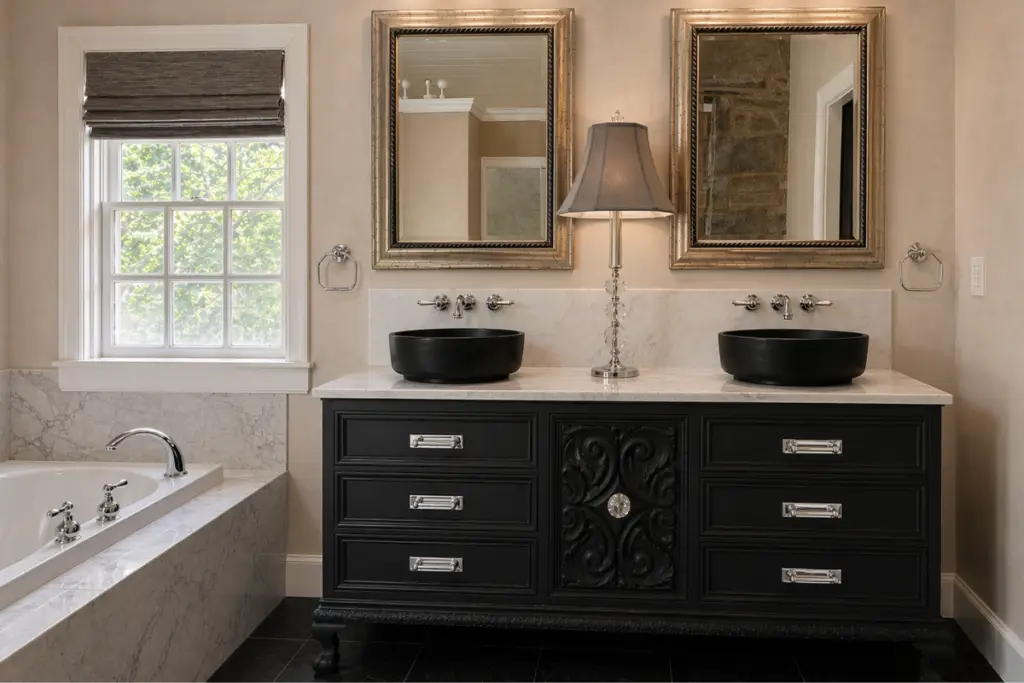
When I bought Rosemont, the master bathroom (a converted sleeping porch) was outfitted with a vanity I immediately assumed I’d replace…someday. It’s a reworked ornate dresser with 2000-era vessel sinks. It’s one of those placeholders you mentally categorize as temporary when you move into a house that needs attention in every direction all at once.
It’s stayed on the “someday” list for a long time.
But when a leaky shower forced the bathroom renovation timeline, it was the perfect opportunity to replace the vanity. Shopping for a new one, nothing was right. Not the scale. Not the proportions. Not the price, especially given how far over my budget the bathroom renovation had already gone.
So I decided to keep what we had until I found the right “new” vintage piece to replace it, and moved the original vanity back into the room after the slate floors were installed.
And something shifted. It looked right.
Not placeholder right.
Actually right.
Suddenly, it was working for me in the room. The bones are solid. Does it need a refresh? ABSOLUTELY.
It’s got chippy paint, hardware I hate, and drawers that need a glow-up.
But was it shining differently … better? … in the room. Yes, indeedy.
Old houses do this. Pieces that seem ordinary or even replace-worthy in isolation often make perfect sense once the design language gets clarified.
So, I decided to do one of the most cost effective ways to approach a bathroom vanity makeover on a budget.
By giving it a glow up instead of replacing it with something new (or new to me).
Updating a Bathroom Vanity Without Replacing It
If an existing vanity has a structure that works functionally, like mine does, replacing it isn’t always the “rightest” design next step.
Some DIY-able upgrades can create huge impact:
- painting the vanity in a finish that suits the era of the home
- replacing hardware that feels builder-grade
- updating counter or sinks visually dating the room
- adding storage details that make everyday use feel considered
- replacing a backsplash to visually connects the vanity to the room design
- bringing color and pattern in unexpectedly
Taking a rework it ’til it works approach allows for a bathroom renovation on a budget while working with the the design of an older home.
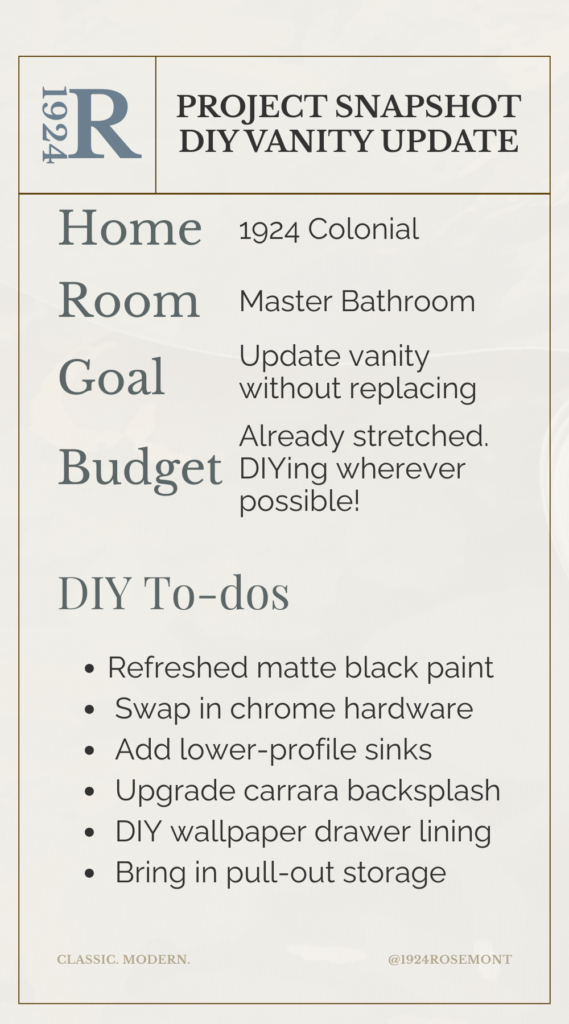
My Bathroom Vanity Update Plan (Without Replacing the Vanity)
Step Zero: Paint it…But Make it EASY
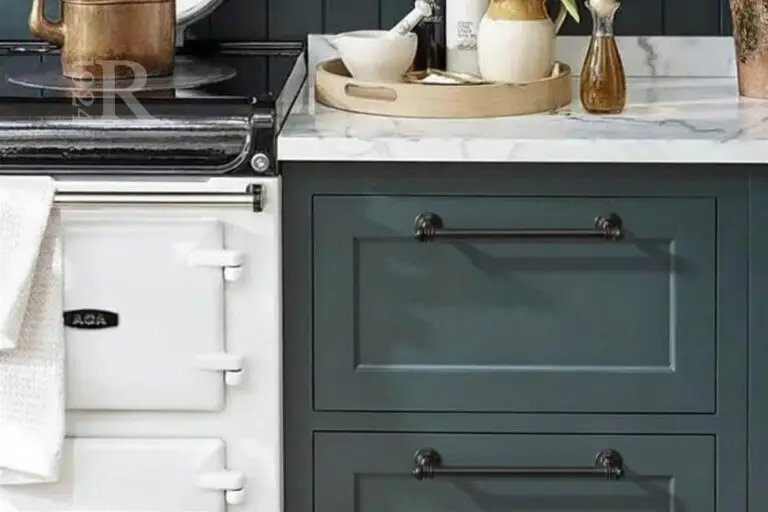
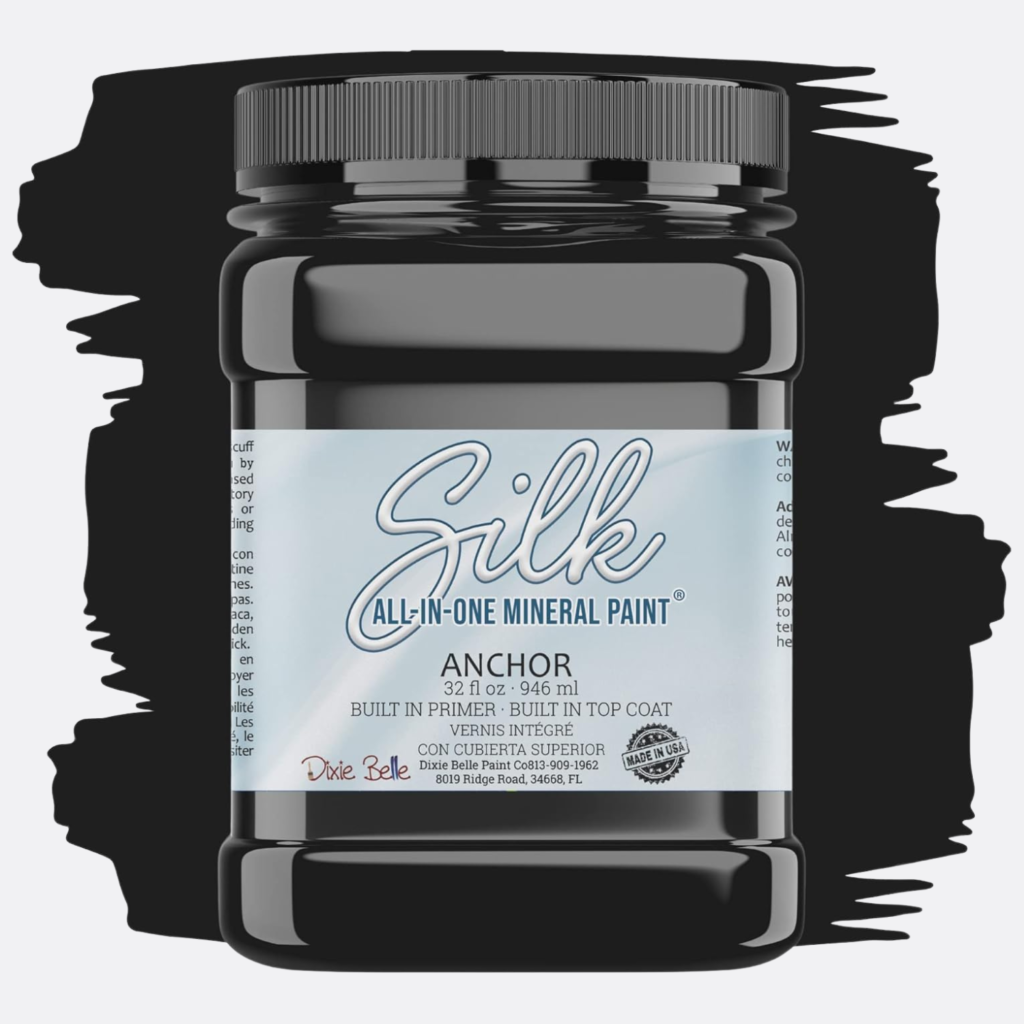
The entire vanity is getting repainted in Dixie Belle Silk All-in-One Mineral Paint in Anchor, a deep, dead-matte black that is going to be gorgeous against the charcoal slate floor.
It’s a mineral-based paint formulated specifically for durability in higher humidity environments like kitchens and bathrooms. It combines primer, paint, and topcoat in one product, which simplifies the painting process while still giving a finish that looks right at home in my old house.
Added bonus? It’s something I can do on my own. In the room. No professionals. No scheduling. Just when I have time (this week), and pretty low-effort, as painting goes.
Here’s the plan for my bathroom vanity refinishing
Let the first coat dry for 4+ hours, and apply your second coat. There’s no top coat needed with this paint! This will be such a gorgeous refresh for my tired vanity.
Step One: Upgrade the Hardware
The existing hardware never worked for me. It’s brassy (not brass). And ornate in an over-the-top way I really don’t love.
With the vanity painted matte black, hardware becomes an opportunity to highlight what’s wonderful about the vanity. It’s the only ornate piece of furniture in the house (which I now appreciate). Now the vanity reads as vintage but not fussy. Stately, not grandma.
My hardware goal? Use it to span the gap between the ornateness of the vanity with the clean lines of the rest of the room.
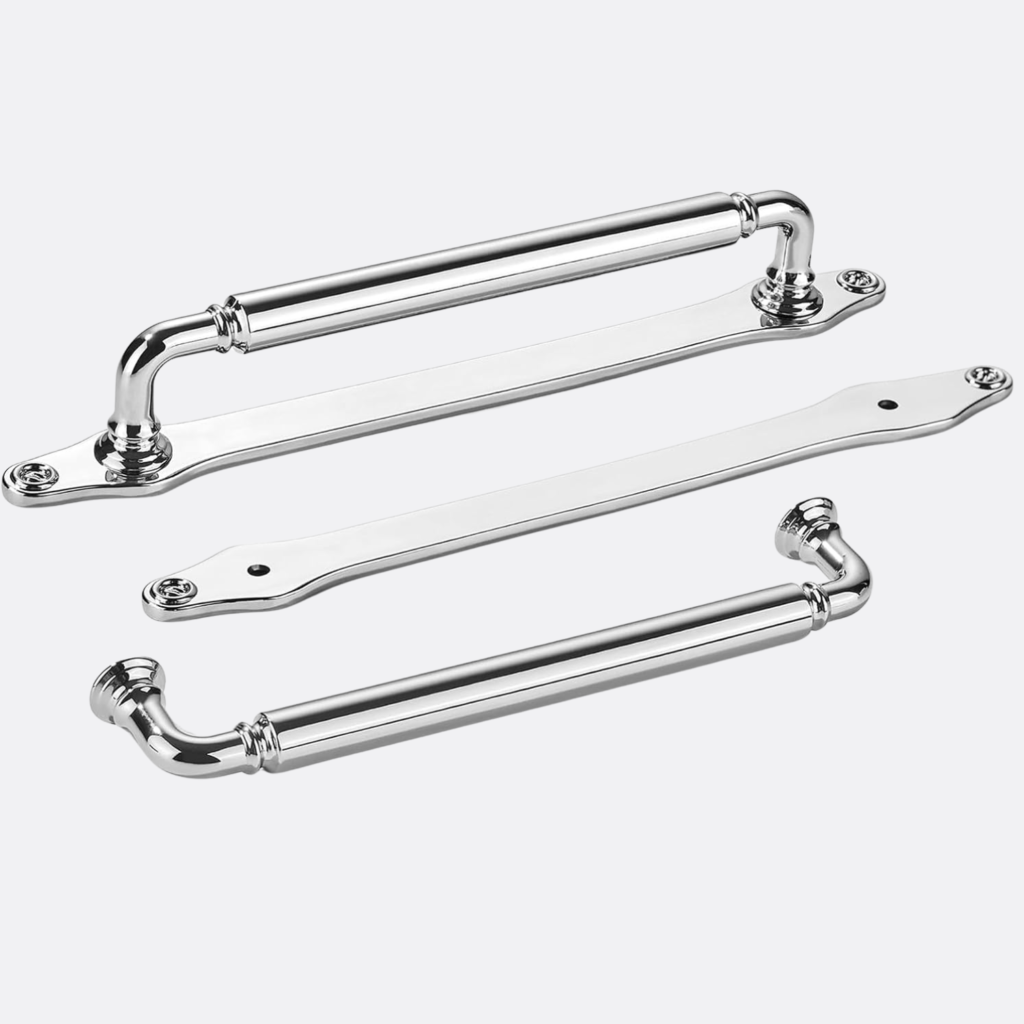
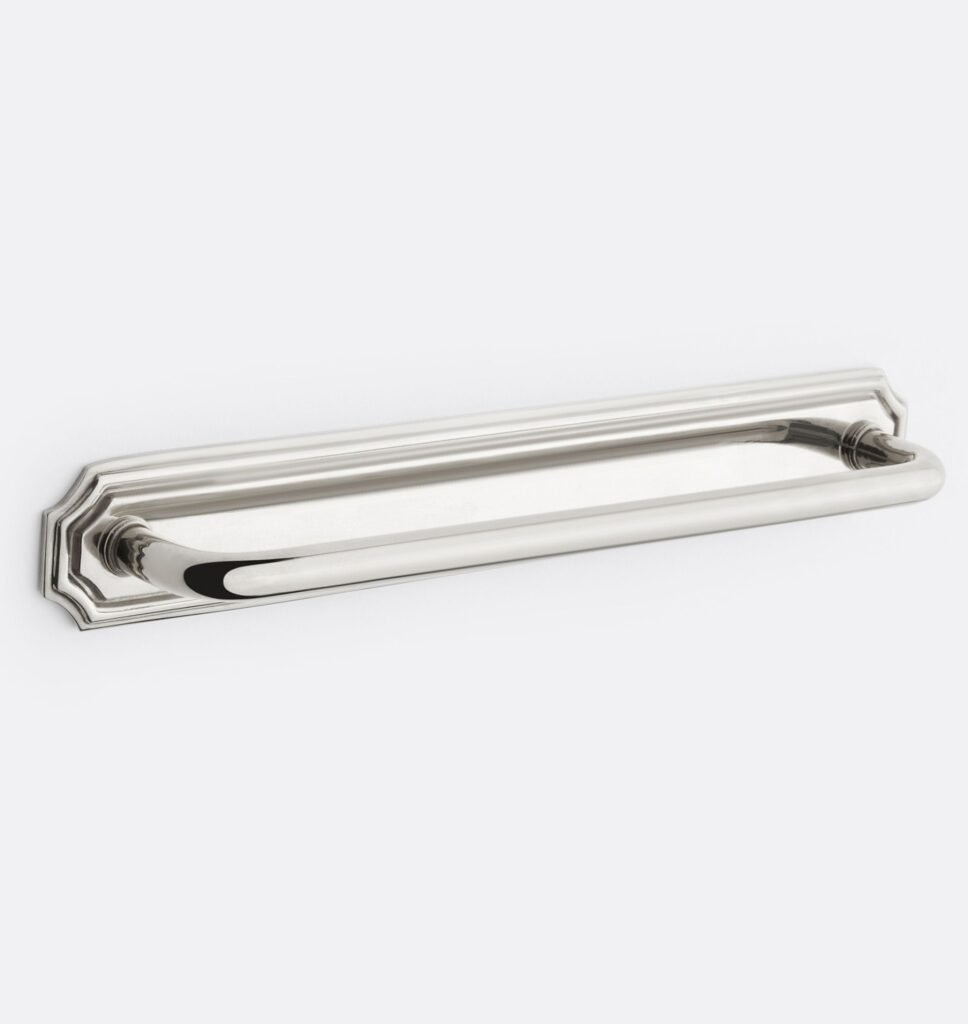
Hardware on my shortlist
Old House rules: The hardware needs to be polished to tie with chrome fixtures, clean-lined, modern interpretation of traditional, and solidly constructed.
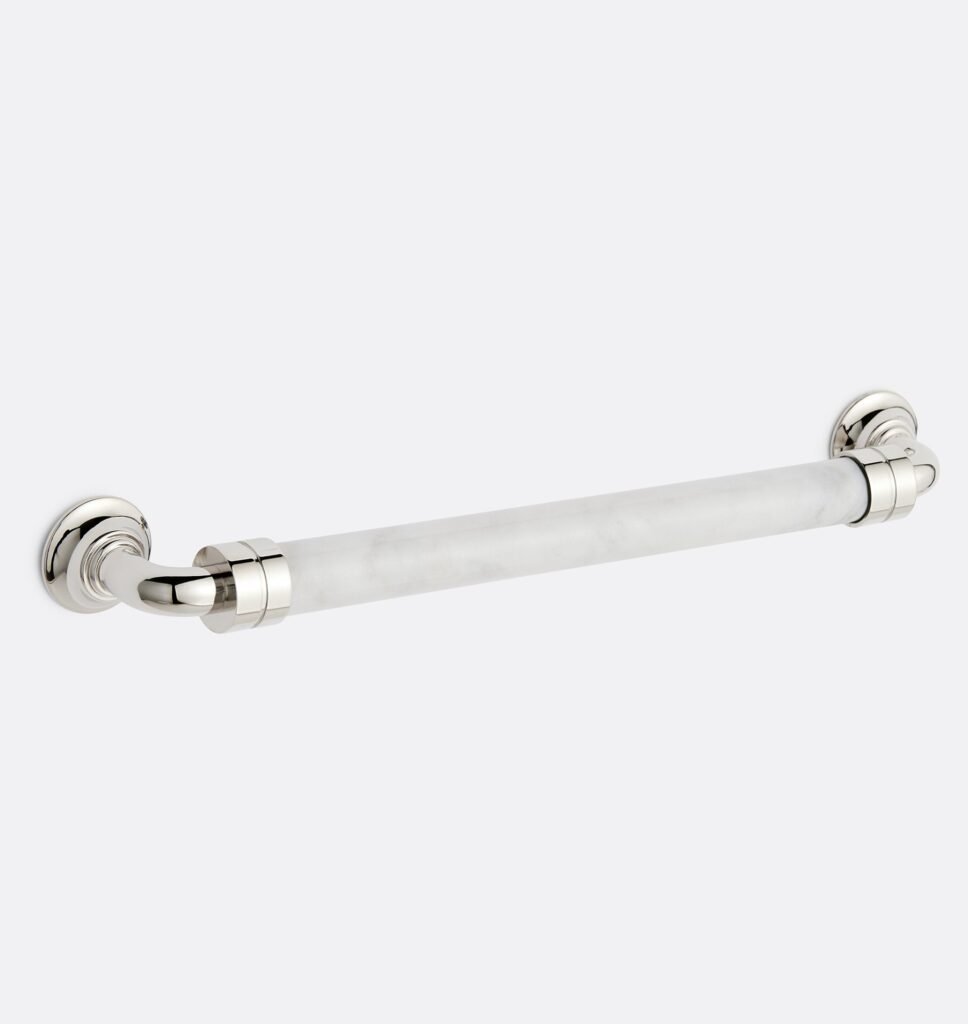
I love the look of the marble, & know this would have an amazing feel.
The budget addition to the shortlist. I love the look of the backplate on this one
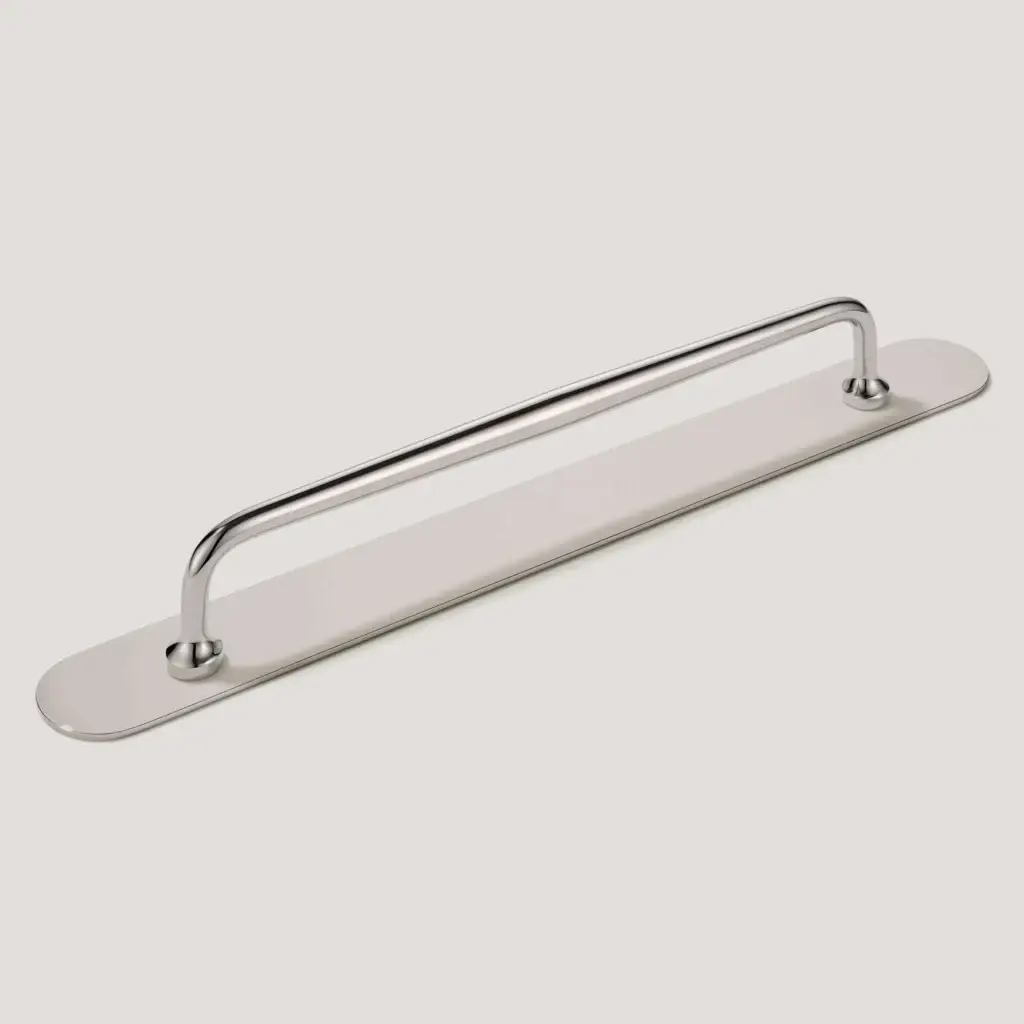
Simple, traditional. The backplate protects the finish and makes the swap even easier.
I see these as the most traditional, but I may like them most of all.
Hardware is one of those “touch it every day” finishing touches, so my hardware choice will definitely have a bit of heft.
Investment: $ – $$$
Hardware costs are all over the place. The Khtumeware pulls are under $100 for 6, and the Asher is almost $100 for each pull.
Step Two: Replace the Sinks
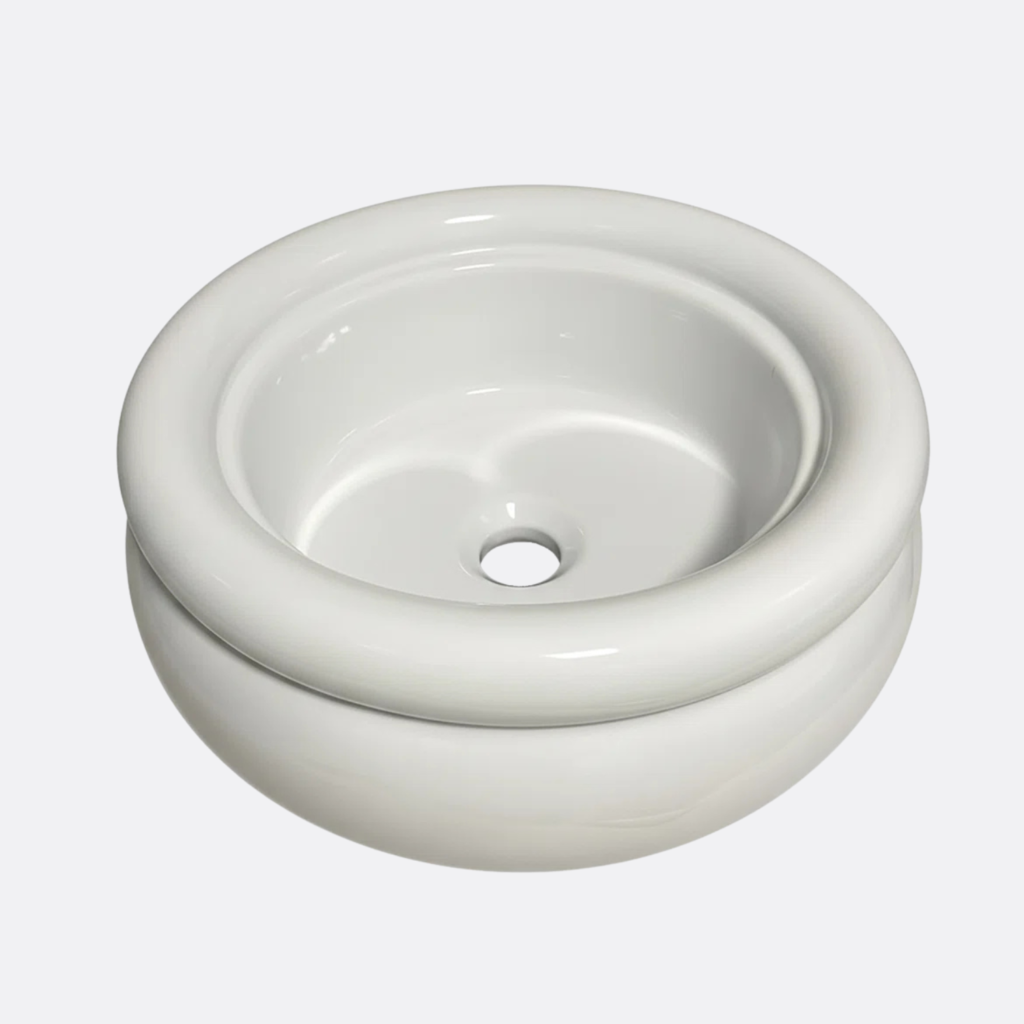
My existing vessel sinks are very early-2000s in shape and proportion. They sit too high to be useful, remind me of salad bowls, and visually compete with the marble counter instead of complementing it. The finish has crazing and wear, and I’ve hated the sinks since we moved in.
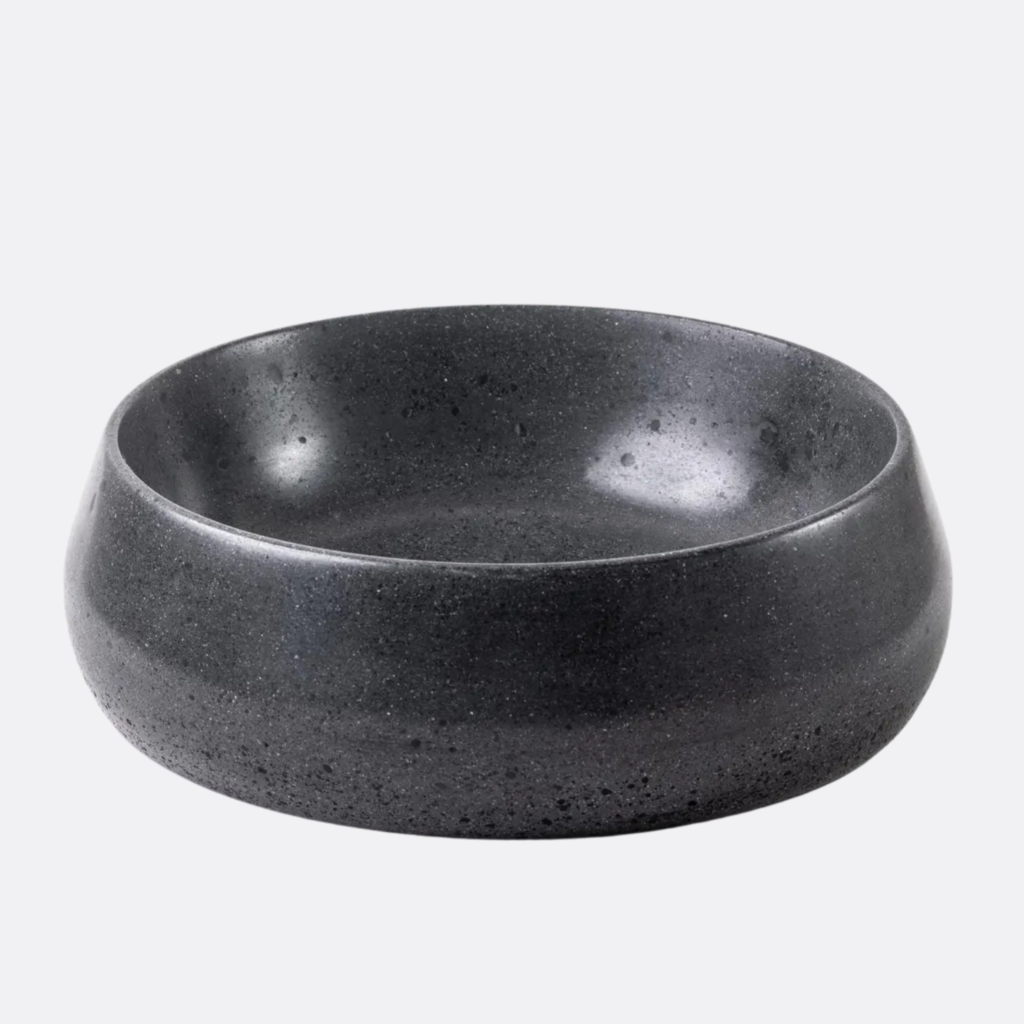
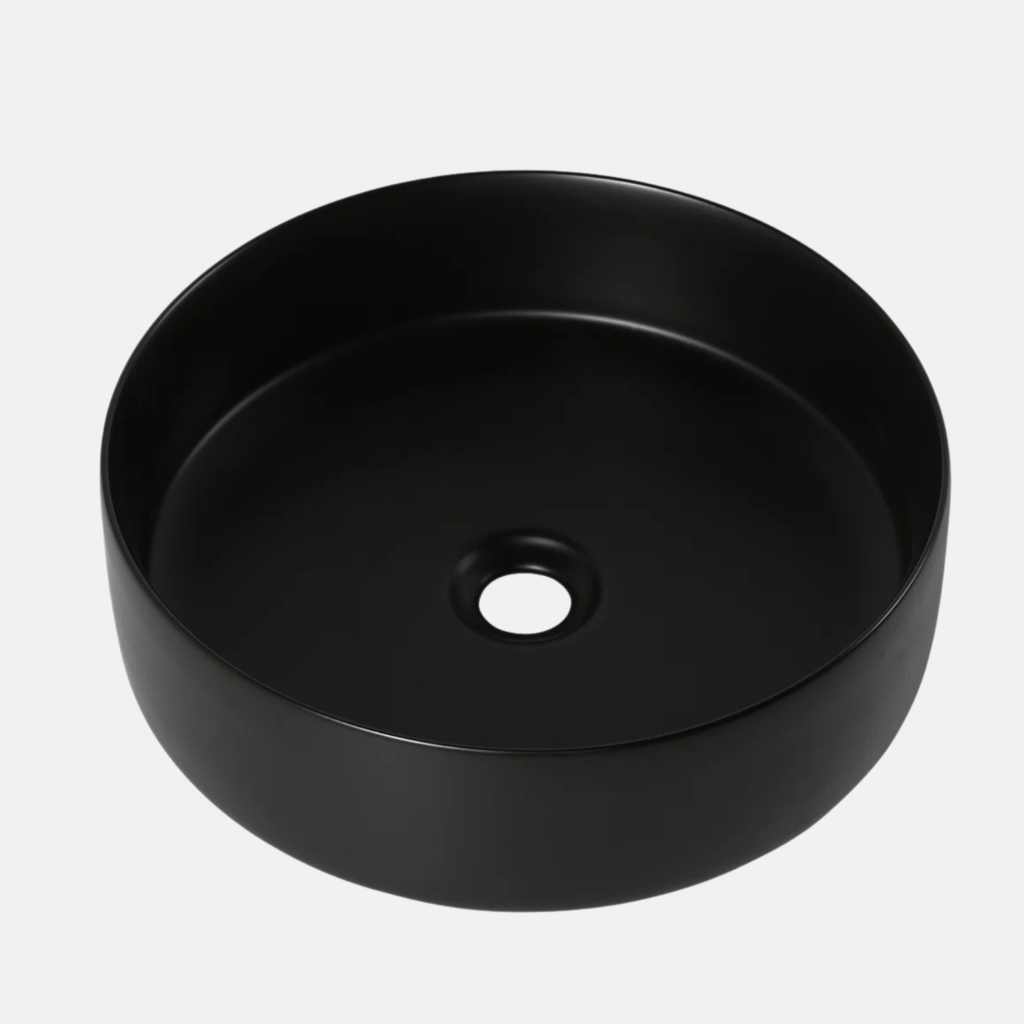
So I’m replacing them with lower-profile round vessel sinks in matte black porcelain with matte black drains. I NEVER would have thought black sinks would be my choice, BUT when Gemini mocked it up, black just looked better in the room.
The sink replacement shortlist was all over the place
My Old House rules: the new sink needed to be shorter in height than and work with my current marble countertop to keep costs in check and reduce elbow drips.
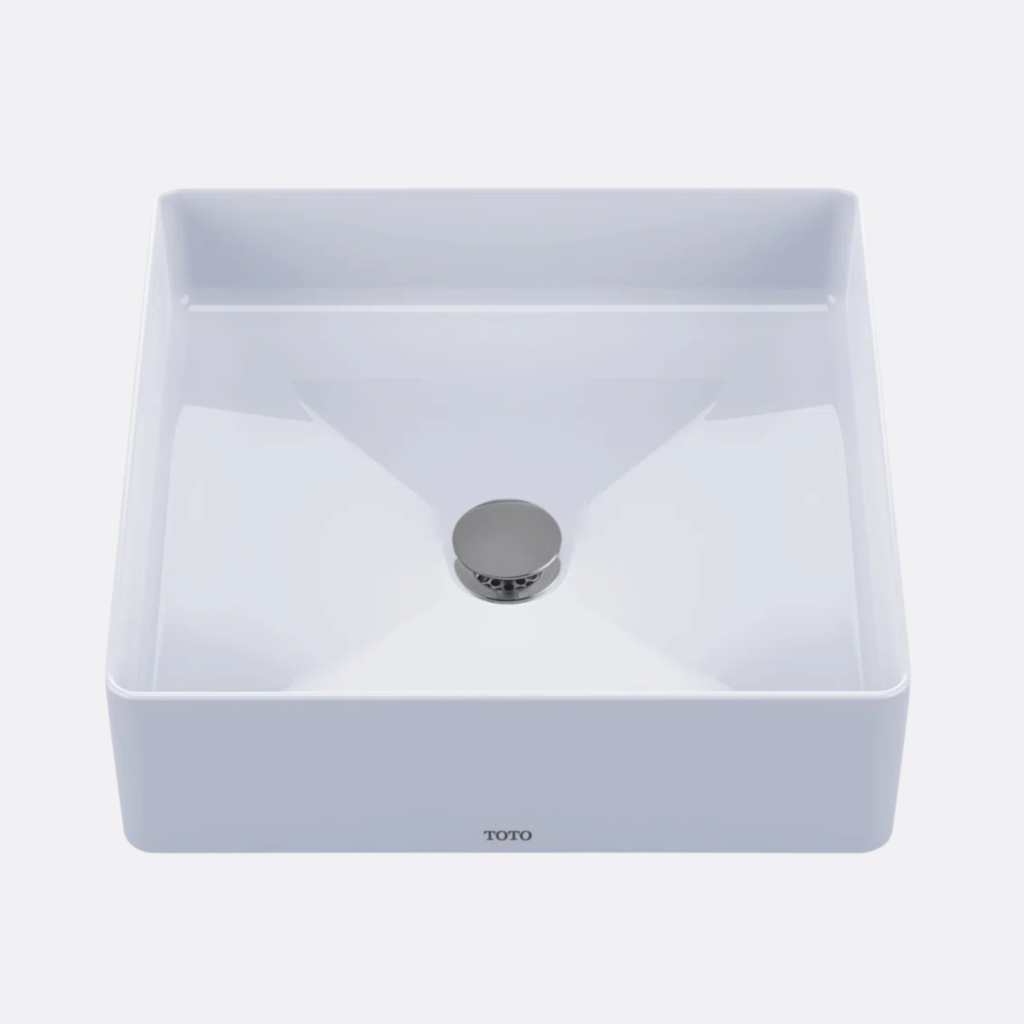
Love this one, but wanted softer angles
Traditional look, too on the nose for my room
If I love the black ceramic, I’ll upgrade
My riskiest choice in the room
Even small changes in sink profile dramatically shift how current a bathroom feels, and will reduce the number of “elbow drips” I’ll deal with in my new-to-me bathroom.
Investment: $ – $$$
Sinks can cost under $100 to thousands. If you have a plumber install for you, your total cost increases.
Step Three: Improve the Tile Backsplash
The original backsplash was a warm tile that competes with the cool Cortina Satin tile cladding the tub and shower walls, so I’m having a Carrara marble backsplash fabricated to match the existing countertop as closely as possible, and doing a DIY polishing and seal of my existing counter.
The new backsplash has a simple edge. Nothing overly decorative.
Just enough vertical surface to visually anchor the vanity to the wall and make the vanity feel fully integrated into the new room.
My Old House rules: Finish is more important than perfectly matched. My countertop is honed Carrara, so that’s the finish I’m using for the backsplash.
Investment: $ – $$
Materials matter here. If you DIY this with tile, you can keep your costs relatively low. Facebook Marketplace and Habitat ReStore are fantastic sources for small amounts of special tile.
Step Four: Give the Drawers ‘Just-For-Me Renovation-on-a-Budget’ Wow Factor
My vanity has six drawers, which gives me the opportunity for one of the smallest but most satisfying upgrades in the entire room.
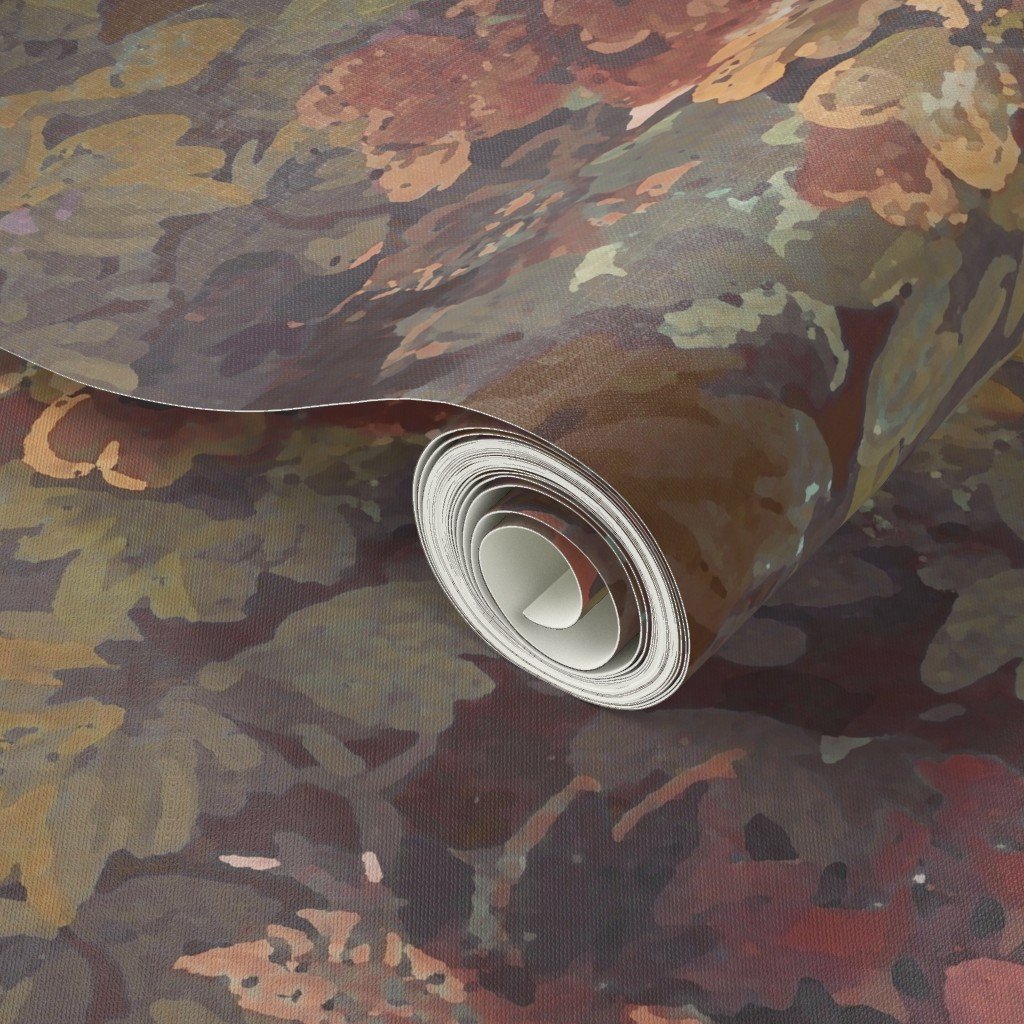
I’m lining the drawers with wallpaper from Spoonflower.
It’s a just-for-me interior moment to make everyday use feel more special, and the drawer interiors (which are currently painted a dingy off-white) more special.
Full disclosure: I can’t wait to do this update! I’ll link project details and results to this blog in an update post.
Wallpaper on my shortlist
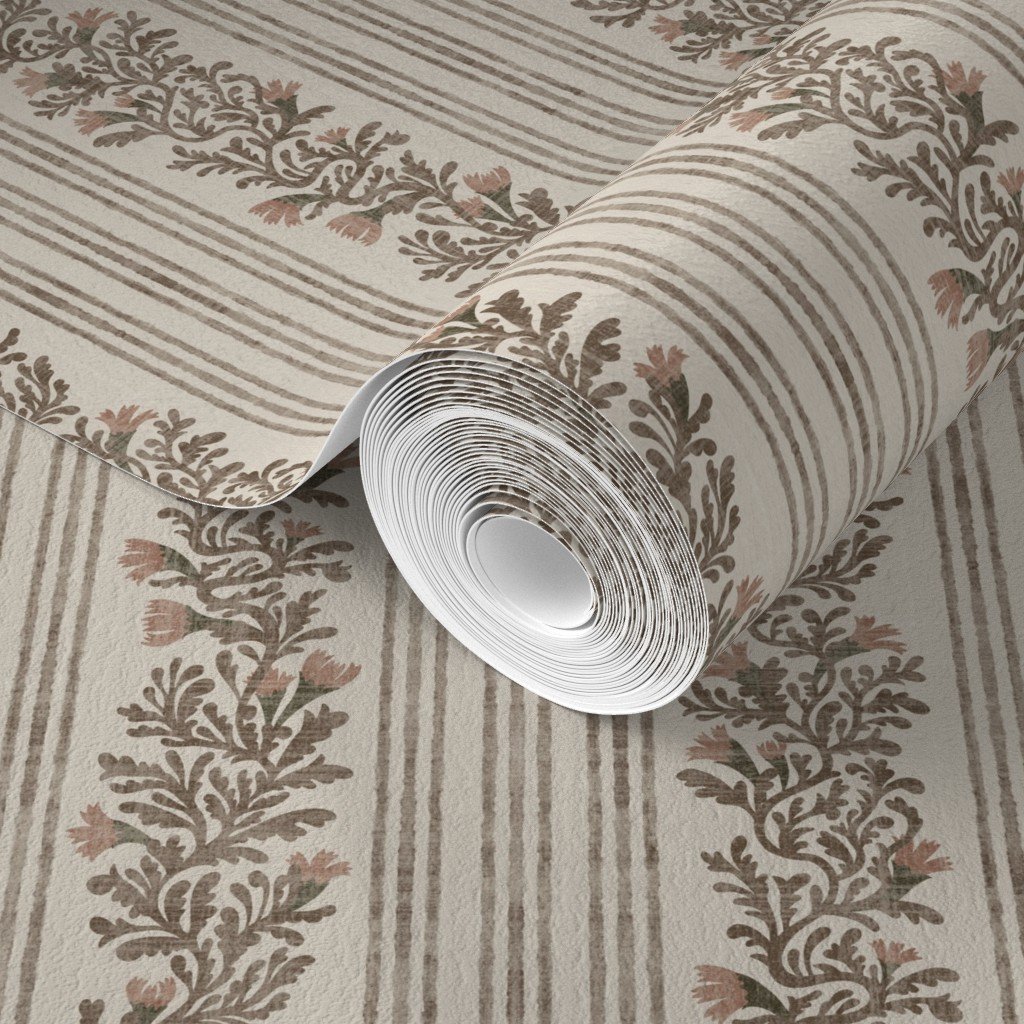
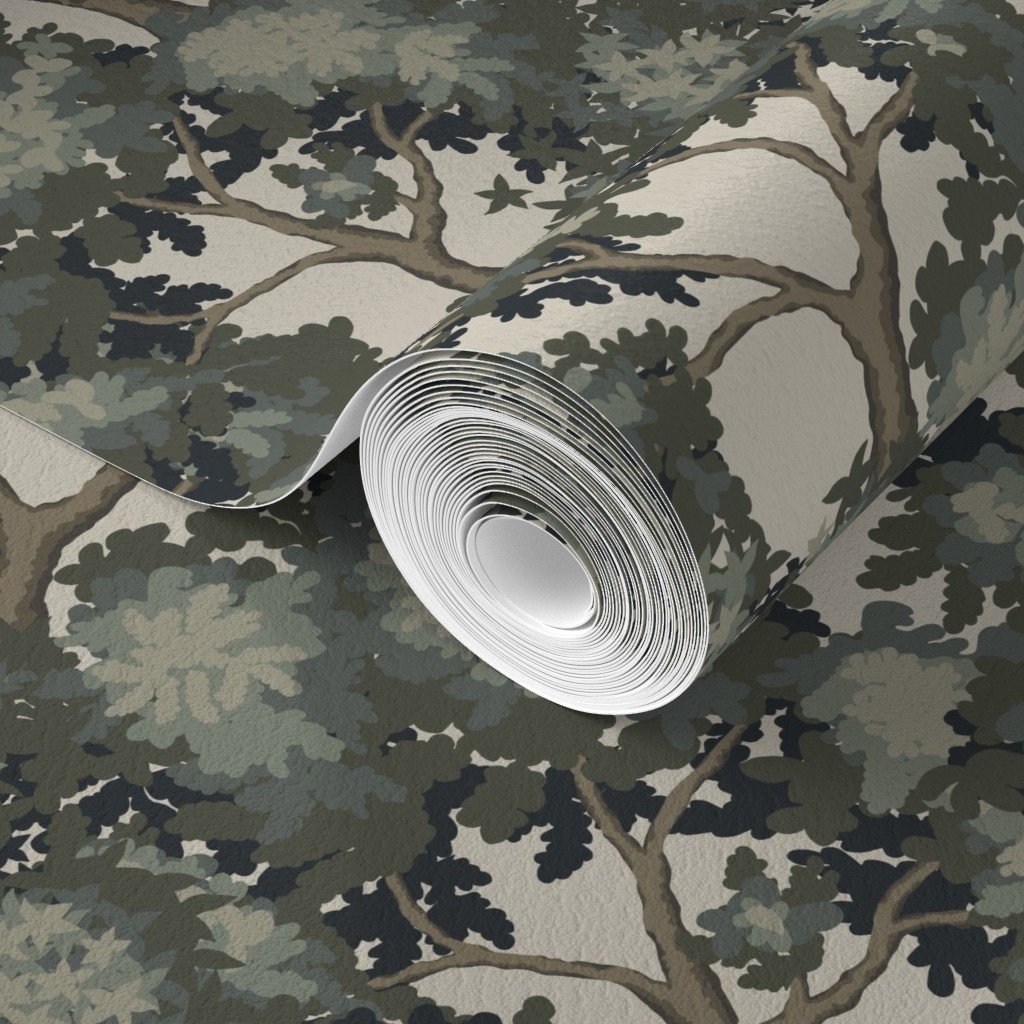
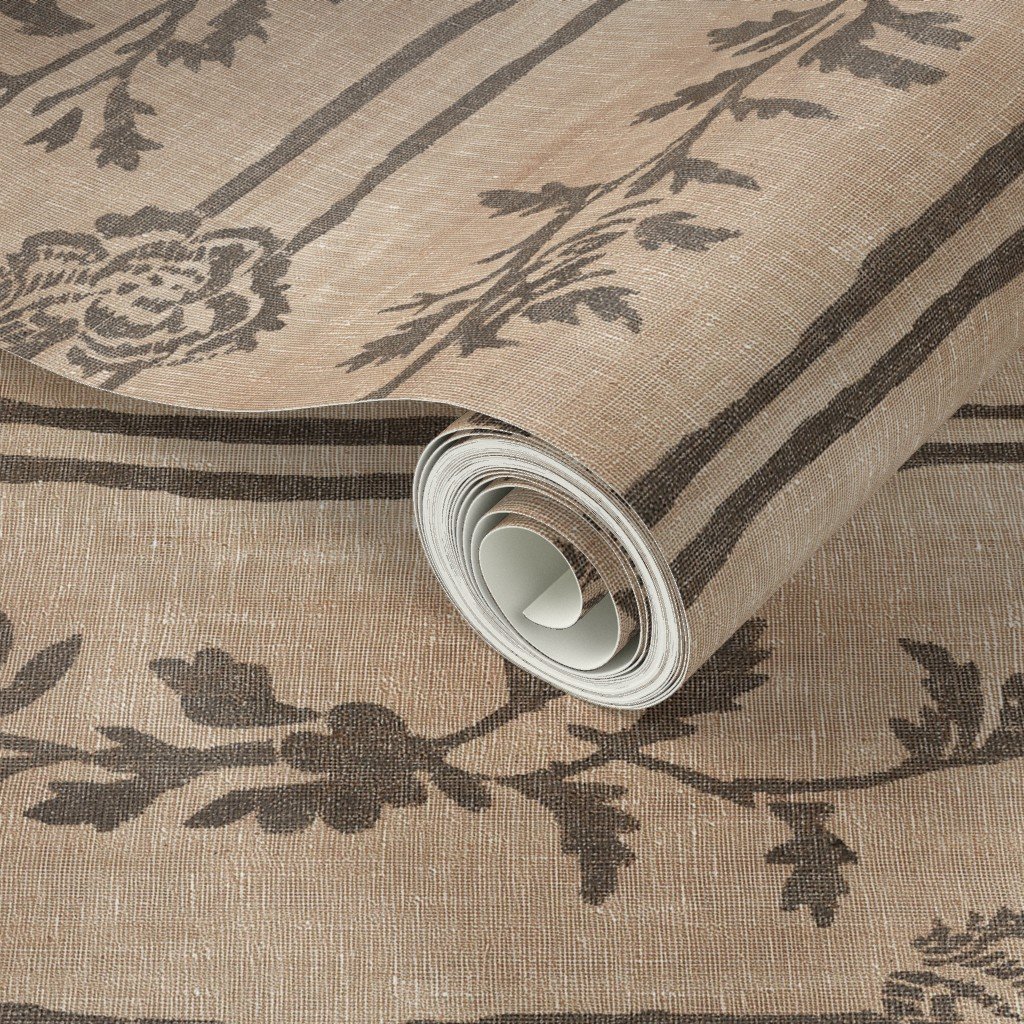
I really like the warmth of this one
Like most of the vanity updates, this is uber-DIY-able. Even for people with limited experience (like me).
Investment: $ – $$
You can source beautiful leftover wallpaper on Facebook Marketplace and do this project yourself on a weekend or a few evenings.
Step Five: Add Pull-Out Storage to a Bathroom Vanity
I’m adding a pull-out shelving unit to the center cabinet in the vanity to make it work better for the way we live.
Invisible upgrades are often the ones that improve daily life the most.
Pull-out shelving is particularly helpful in deeper vanities where items otherwise get lost in the back.
My Old House rules: Soft close drawers, no worries about overloading the shelves, and sized to make the most of the cabinet. Paintable wood, not wire or plastic.
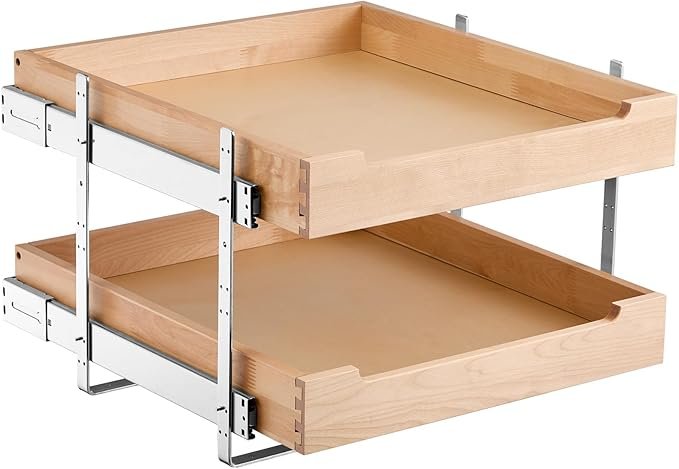
Soft closing for less rummaging per capita
Investment: $ – $$
This one is a lot of bang for the buck, there are many (many) options under $100. This one has hundreds of 5-star reviews and falls into that price ppoint.
Shop the Bathroom Vanity Makeover Project
Some links may be affiliate links, meaning I may earn a small commission at no additional cost to you.
Paint and Supplies
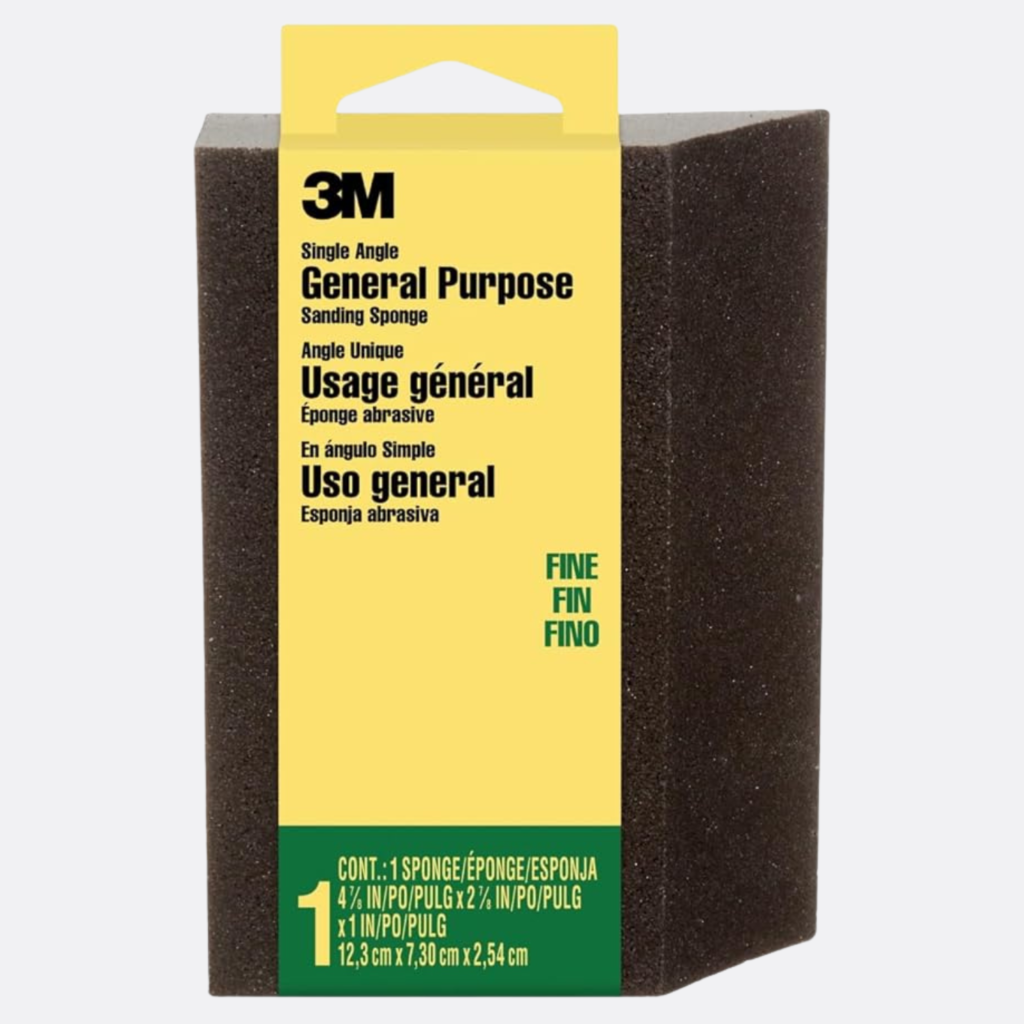
- Fine sanding sponge for scuff-sanding
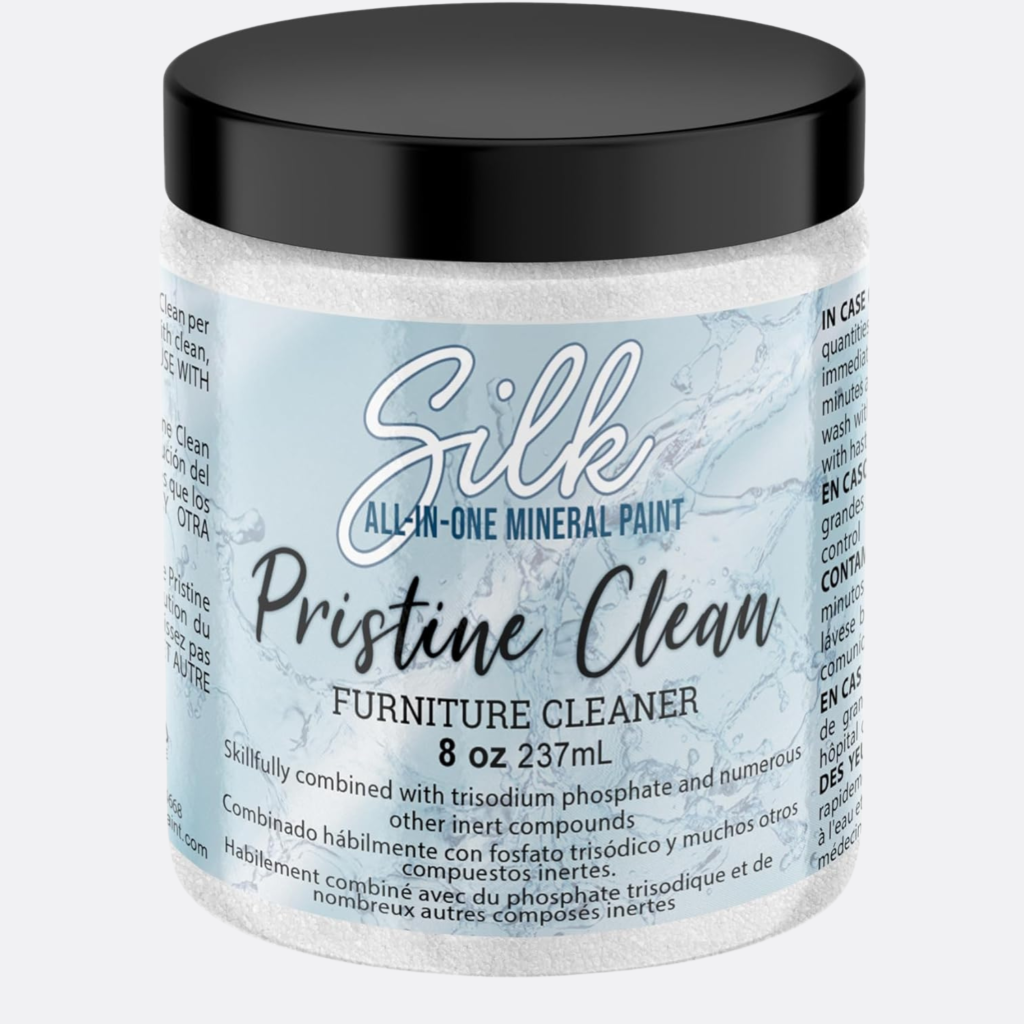
- Dixie Belle Pristine Clean Degreasing cleaner to ensure adhesion
- Dixie Belle Silk All-in-One Mineral Paint (I’m using Anchor) Great for high-humidity, with built-in primer and topcoat
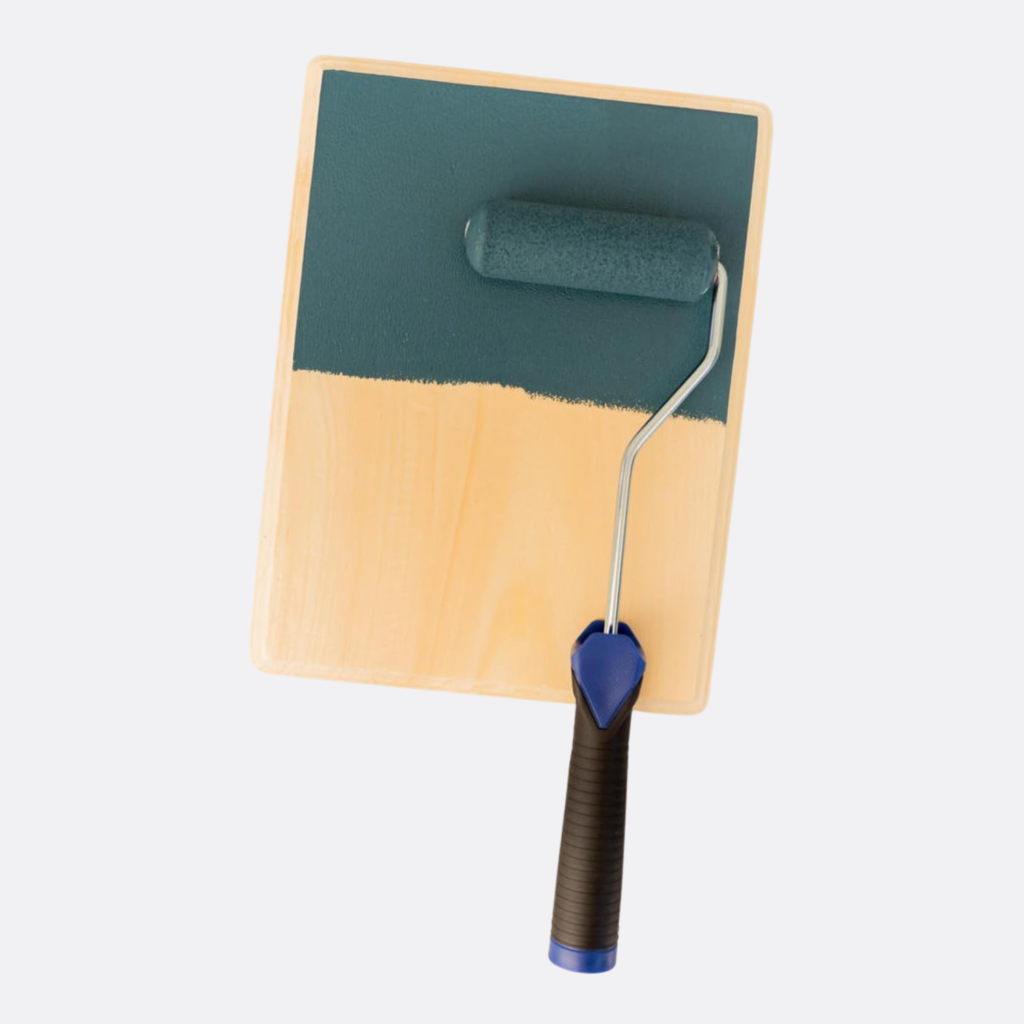
- Dixie Belle smooth foam rollers for flat surfaces
Hardware
- Budget-friendly Khtumeware Cabinet Pull w/ Backplate
- Investment-worthy Asher Marble Drawer Pull, Rejuvenation
Related: Cabinet Hardware Matters More in Great Design Than You Think
Sinks
- Budget-friendly 16″ Ceramic Sink, Matte Black, Glemon I surprised myself and chose this one!
- Investment-worthy TOTO® Arvina™ Square Fireclay Sink I really loved this one, but wanted softer angles
Drawer Glow-up
- Moody and tonal Heather Forest by Ann-Marie Westermann, Spoonflower
- Botanical and colorful Heritage Charm – Botanical Tapestry by Indigo Pruitt, Spoonflower
Storage Upgrade
- VEVOR 2 Tier Pull Out Cabinet Organizer Soft closing for less rummaging per capita
Why Updating a Bathroom Vanity Can Work Even Better Than Replacing It
I almost replaced a piece that already knew how to belong in this room.
Older homes often reward that kind of patience.
Original (or been there a while) elements might have proportions that are difficult to replicate with newer furniture. Or have a higher quality. Or better materials.
The longer I work on this house, the more often I find that thoughtful refinement gets me better results than wholesale replacement. I could have spent thousands of dollars and gotten something new and beautiful. But I like a little bit of patina. Almost nothing in this house is new. And I love it that way.
A bathroom vanity makeover on a budget doesn’t have to be temporary. In fact, you might come up with a result that feels more authentic than a buying something new.
The full bathroom reveal is coming soon (I can’t wait). The slate floor, black vanity, fresh paint, new shower, reclad tub, marble backsplash, updated hardware, and patterned drawers.
For now, the sourcing and DIY-ing era continues. Thanks for being along for the ride.
This is Part 6 of the 1924 Rosemont Bathroom Series.
It *will* have a happy ending.
How to Renovate Your Bathroom Without Eroding Its Soul → Slate vs. Porcelain in an Older Home → Heated Bathroom Floors: Splurging Makes Sense → What You Need to Know Before Installing Slate Floors → My Slate Tile Floor Disaster: What the Restoration Specialist Found → You are here → The Reveal (coming soon)